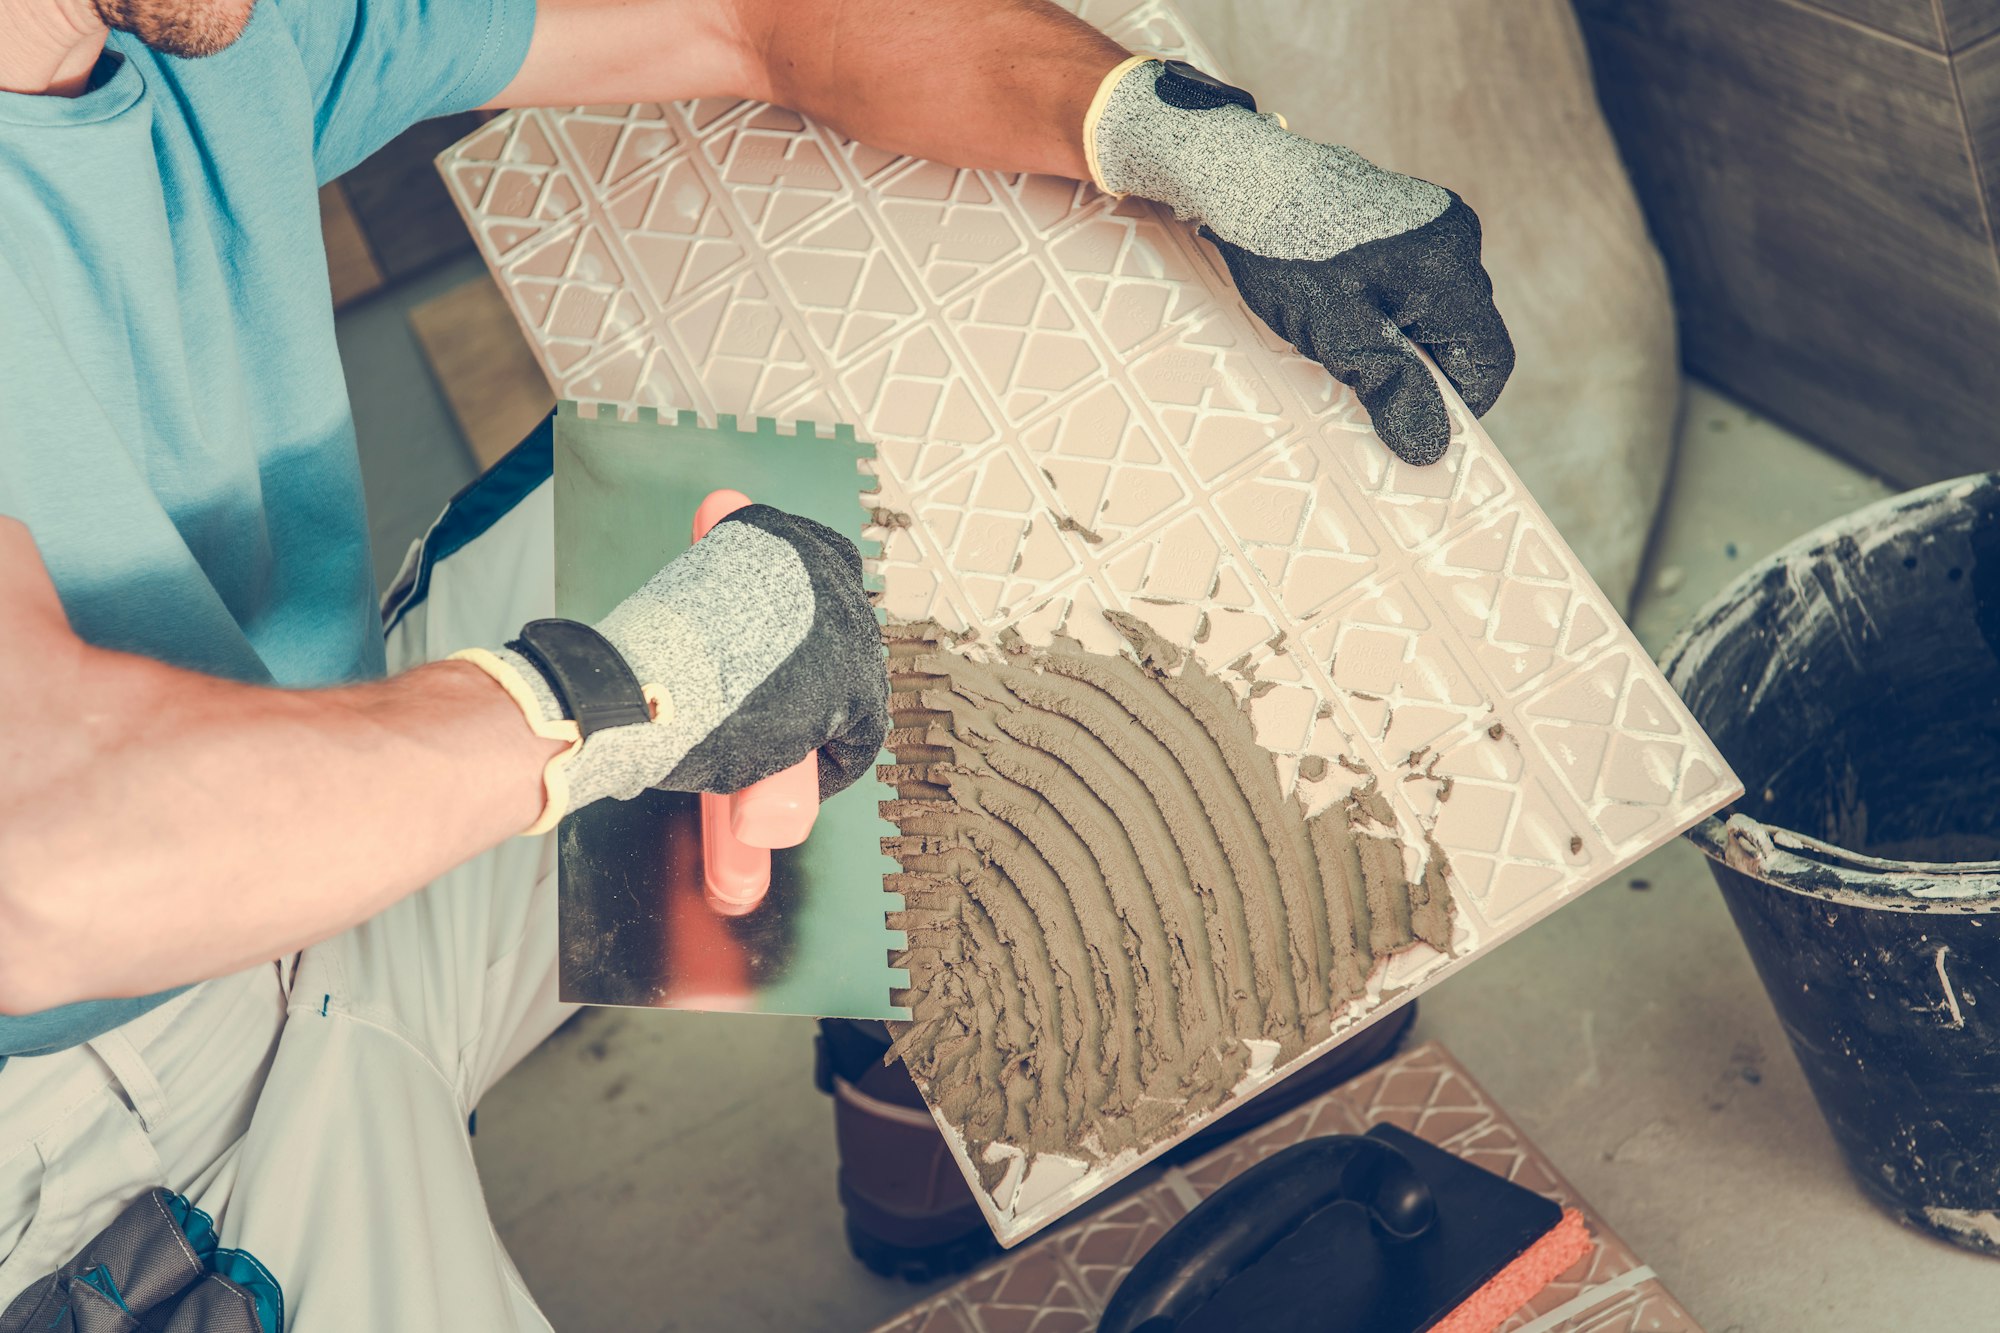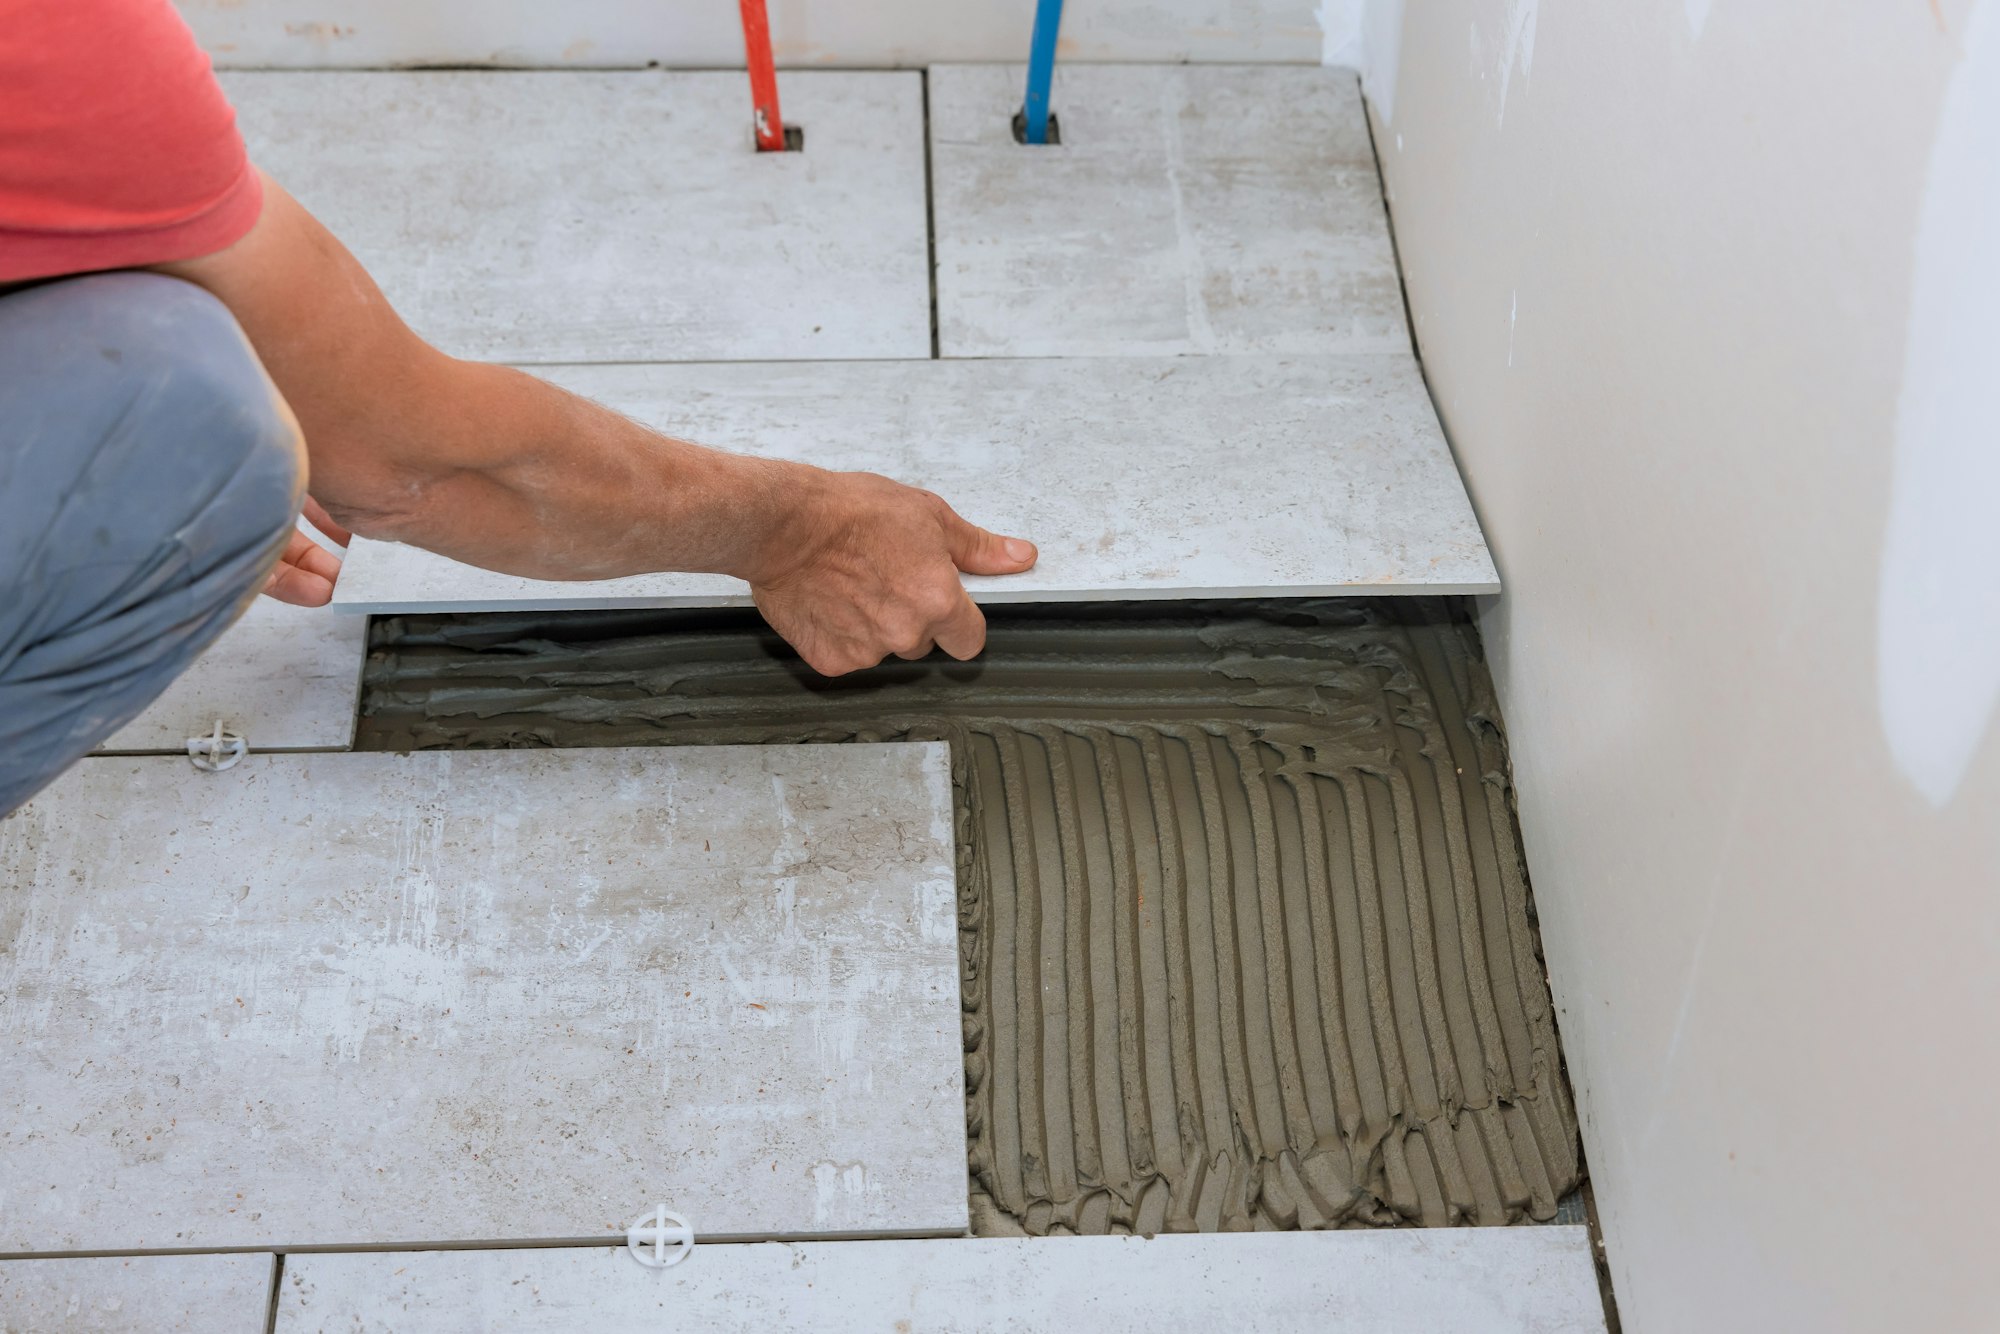
Are you ready to tackle that tile installation project you’ve been dreaming about? Whether you’re refreshing a backsplash or laying down a new floor, achieving a flawless finish is all about the details. In this guide, we’ll uncover the must-know tips and tricks to ensure your tile installation journey is smooth and successful.
“A well-executed tile installation can transform a space, adding elegance and functionality all at once.”
From choosing the right materials to mastering the art of grout application, these insights will give you the confidence to create a beautiful end result. Let’s dive in and get started!
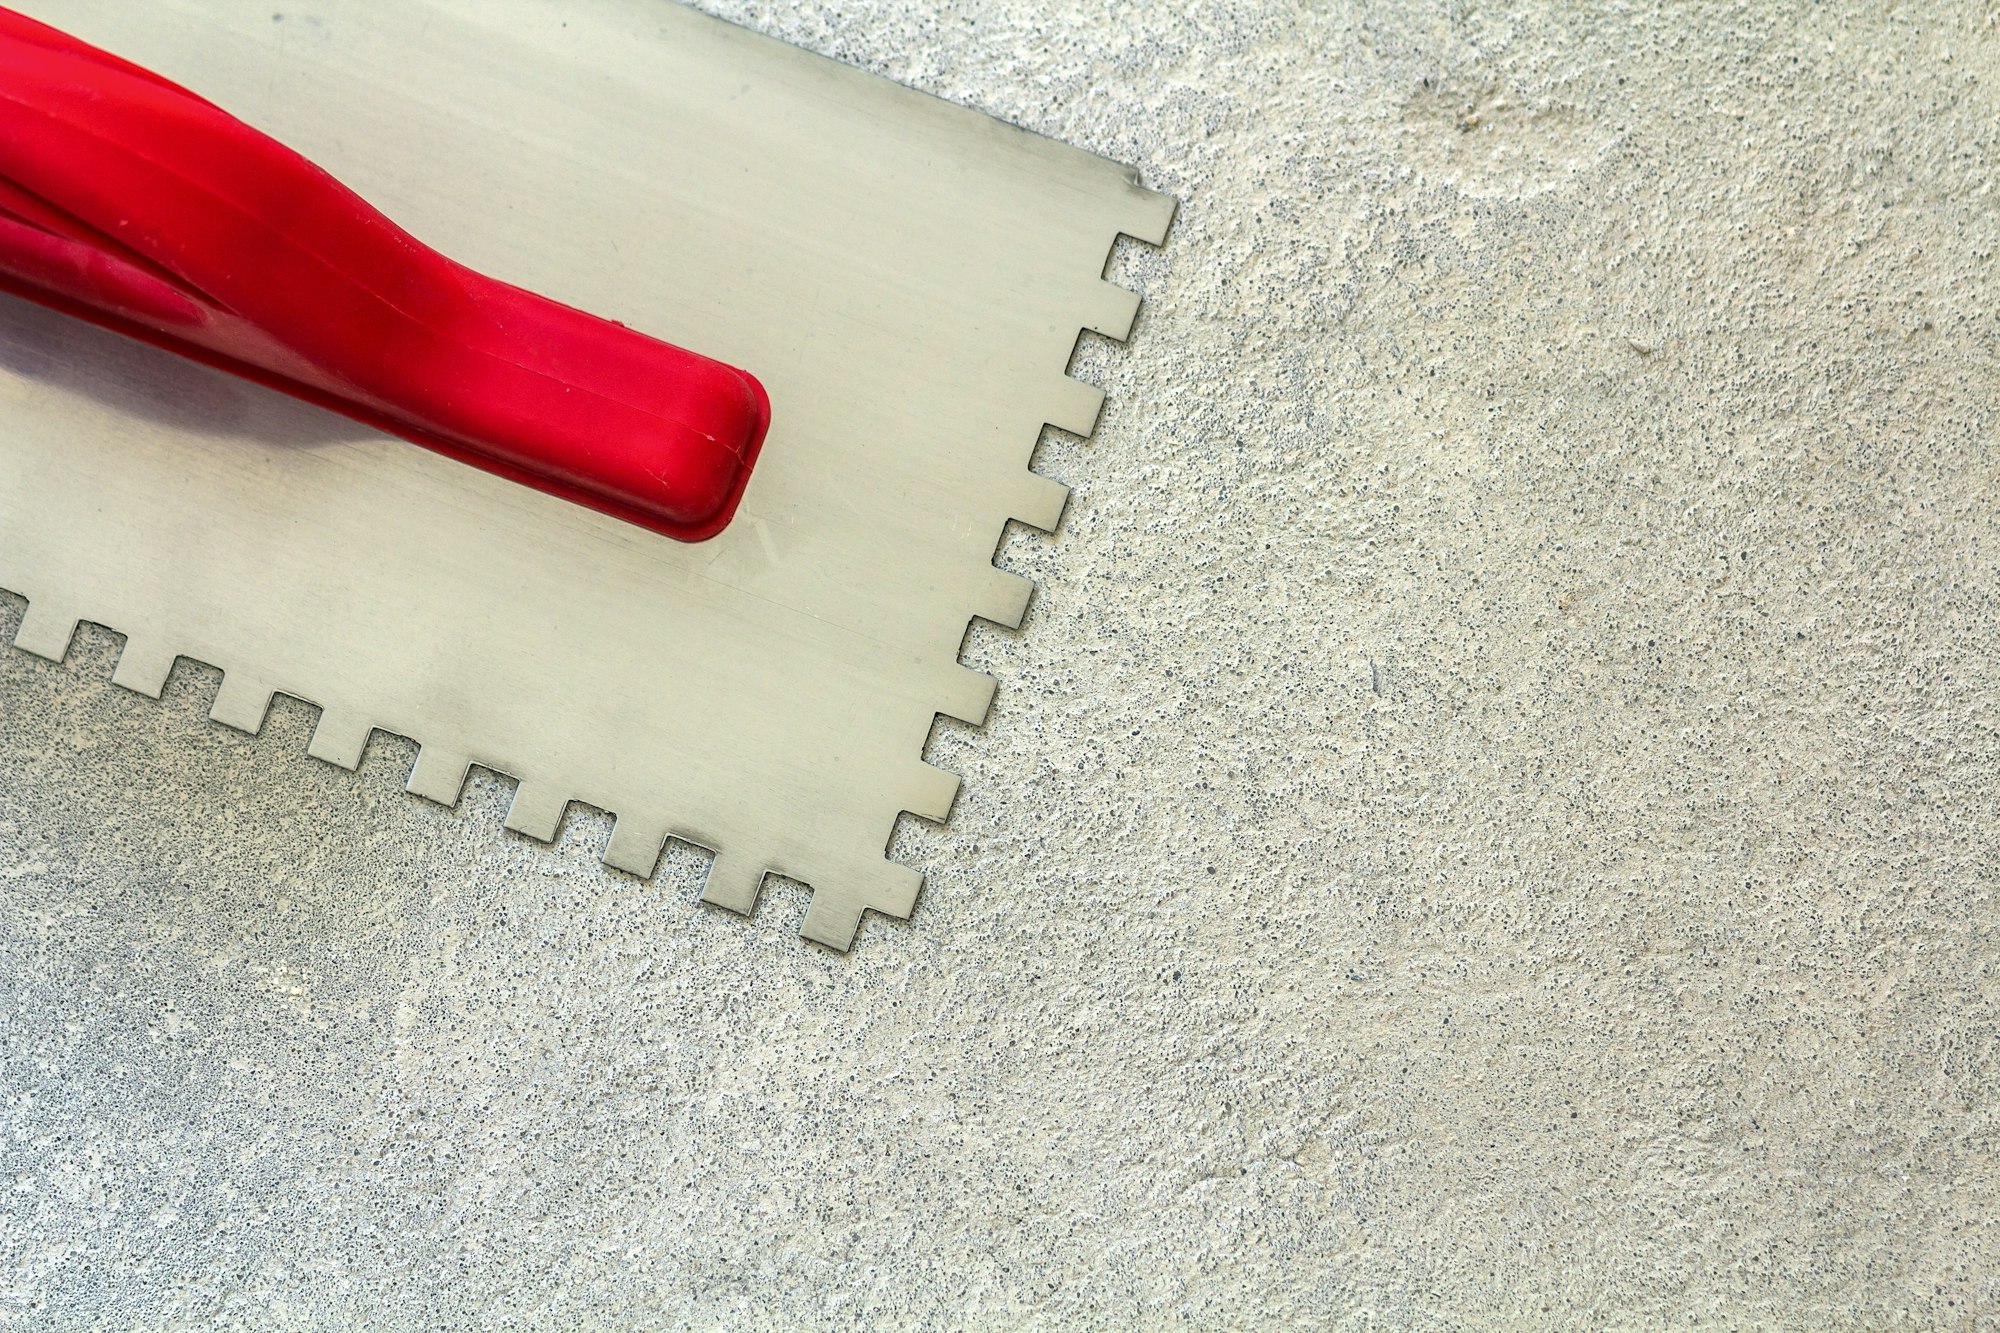
Ensuring your surface is ready for tile installation is the cornerstone of achieving a flawless finish. You need to start by cleaning the surface thoroughly. Dust, dirt, and grease can interfere with tile adhesive, so take the time to scrub the area using a degreaser or mild detergent.
Next, check for any imperfections. Uneven surfaces, cracks, or holes will need to be addressed to guarantee that your tiles adhere properly. Use a leveling compound for uneven areas and fill any gaps with a suitable filler. This will create a smooth, uniform surface that is ready for tiling.
Additionally, it’s crucial to ensure the area is completely dry. Moisture can compromise adhesive effectiveness, leading to loose tiles and an inconsistent finish. If you’re working in a high-moisture area like a bathroom or kitchen, consider using a waterproof membrane to protect your work.
Once your surface is prepped and primed, lay out a dry run of your tiles. This will help you visualize the final look and make any necessary adjustments before the adhesive comes into play. Taking these preparatory steps seriously sets the stage for a successful and long-lasting tile installation.
When it comes to choosing tiles, both aesthetics and practicality need to work in harmony. Start by considering the room’s purpose and the kind of traffic it will endure. For instance, a high-traffic kitchen floor calls for durable, easy-to-clean tiles, whereas a bathroom might benefit from non-slip, water-resistant options.
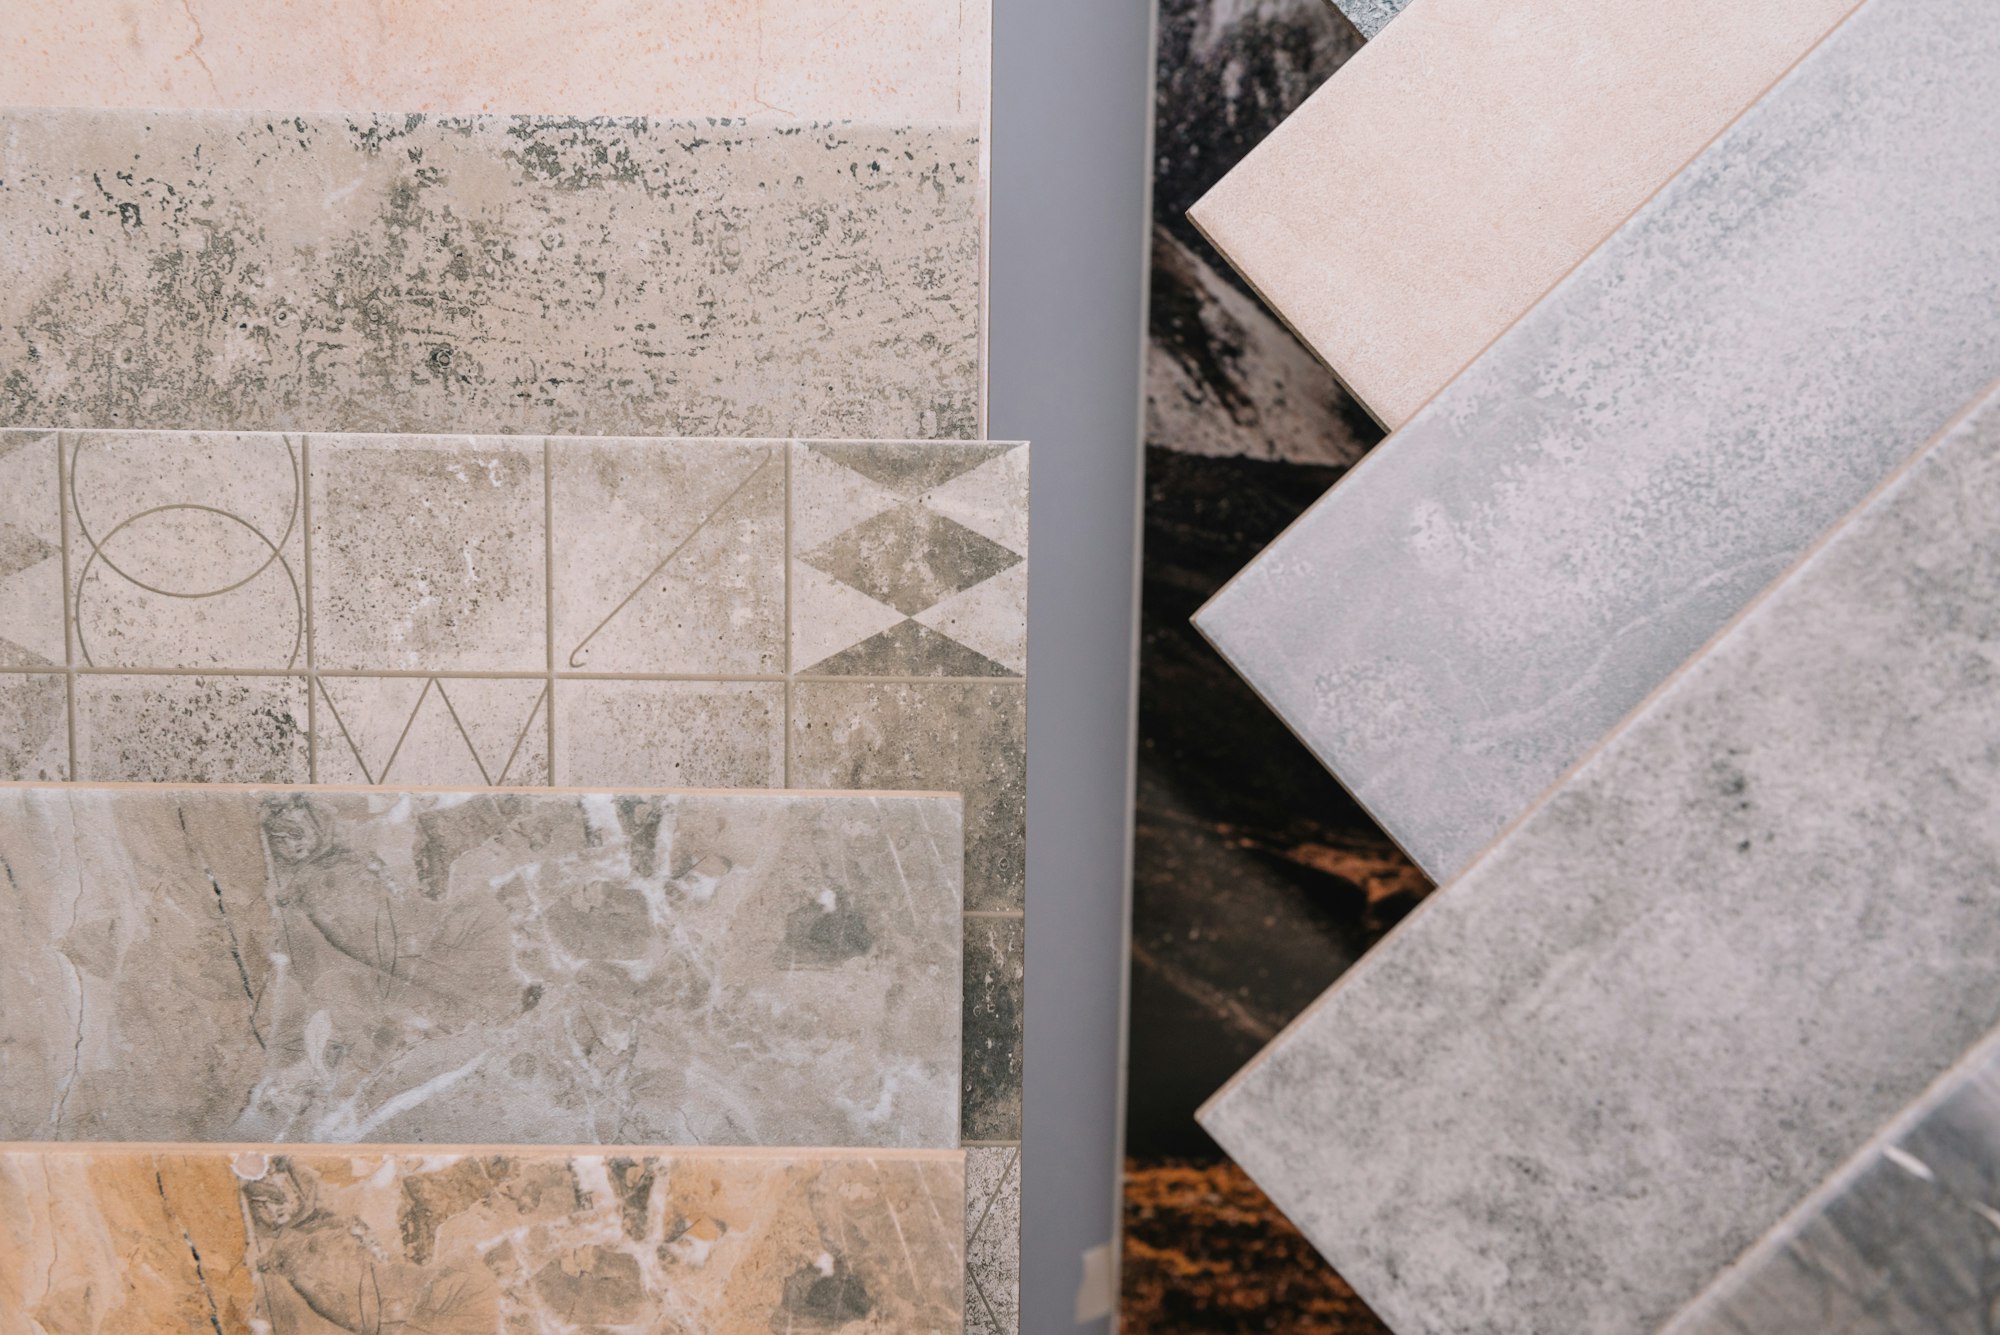
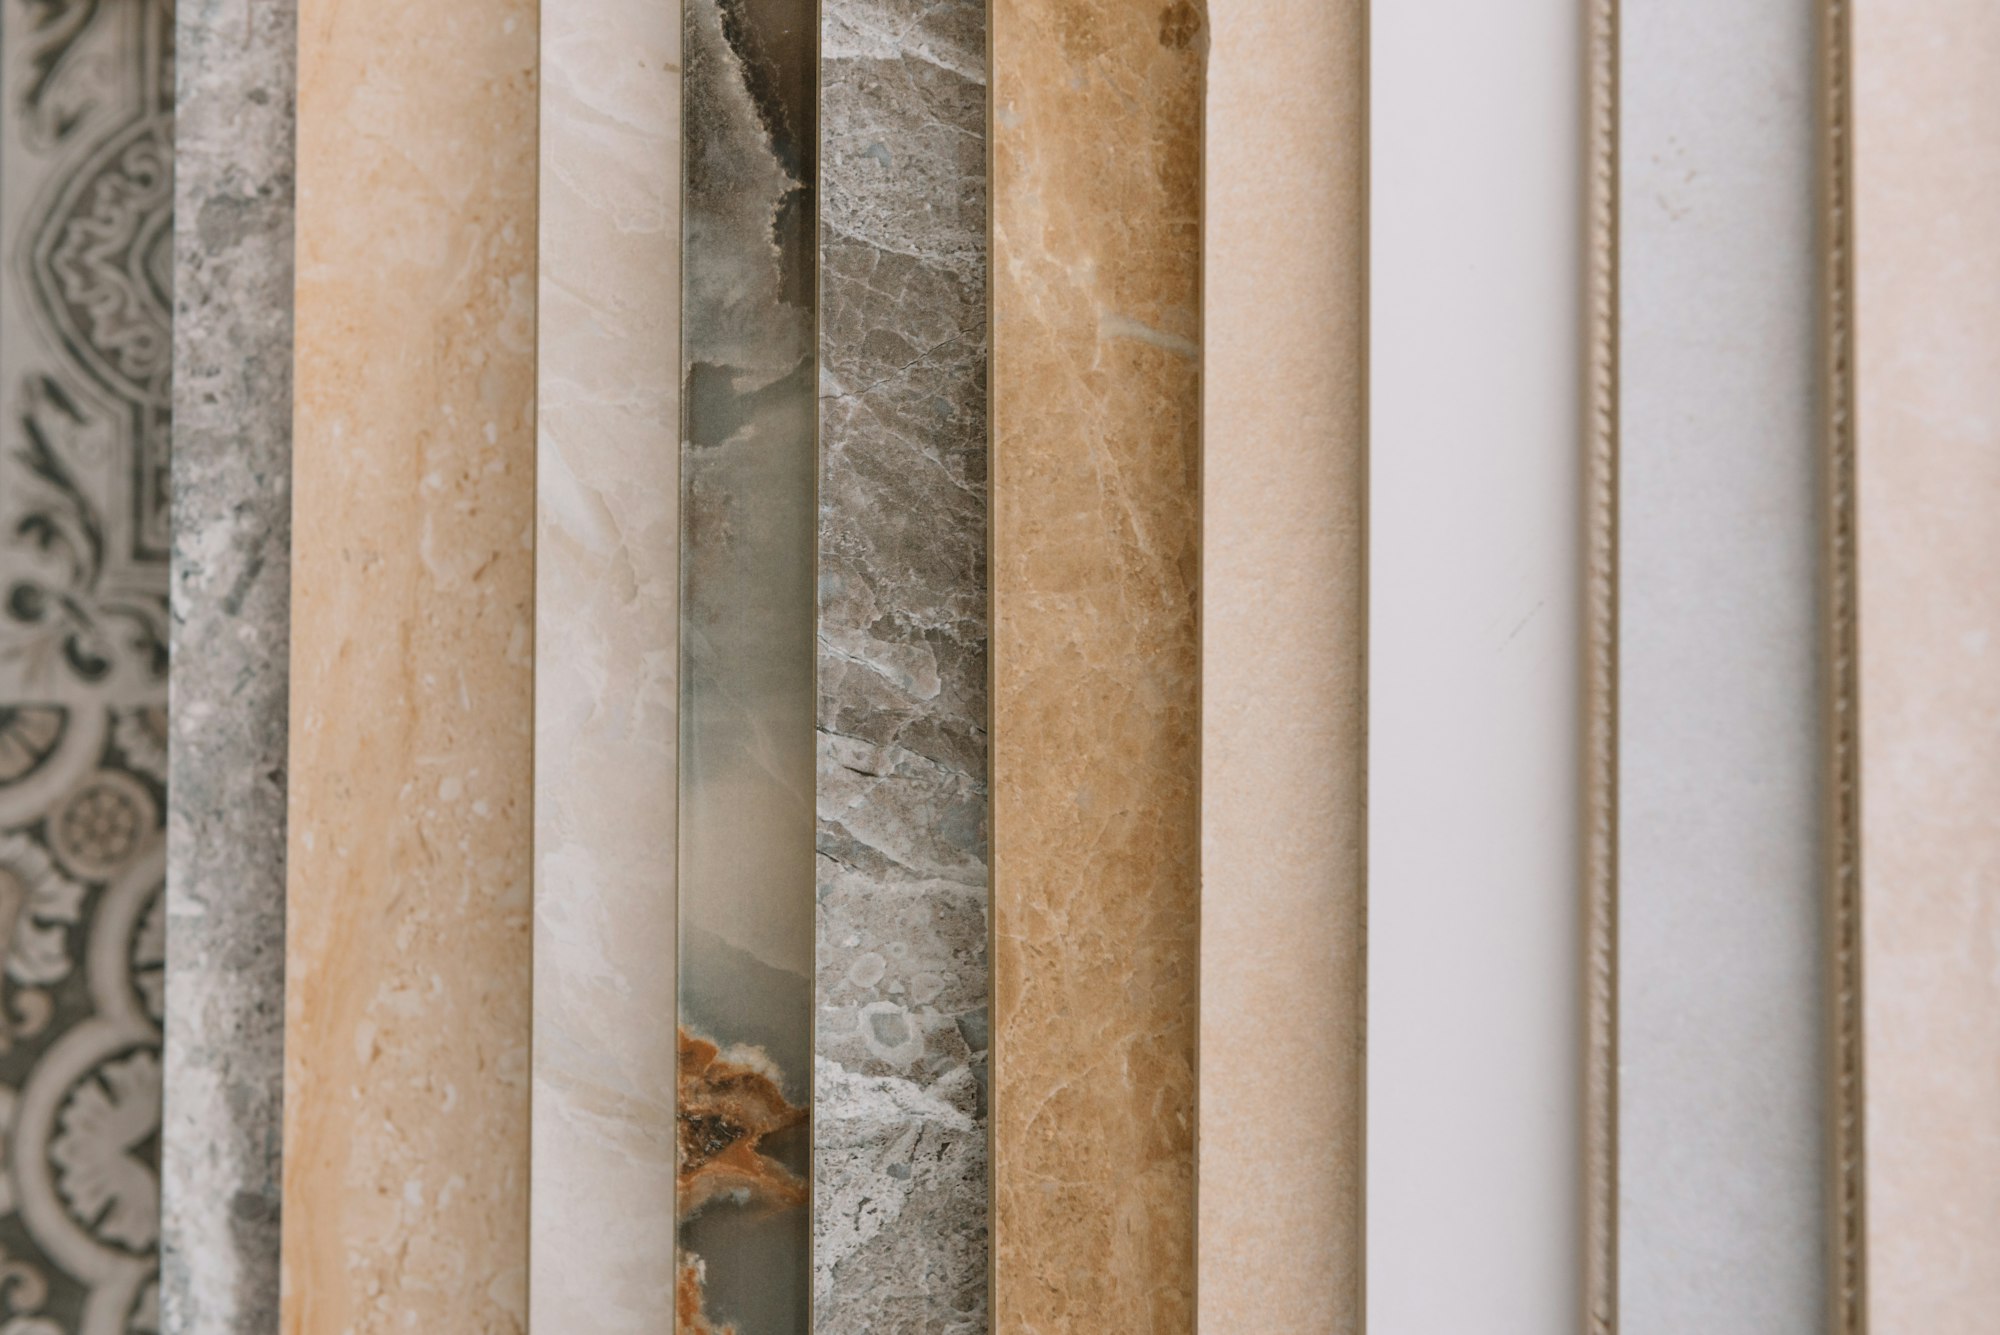
Material matters: Tile materials range from ceramic and porcelain to natural stone and glass. Ceramic and porcelain are popular for their durability and ease of maintenance, perfect for both wall and floor applications. Natural stone, like marble or slate, adds a touch of luxury but requires more maintenance. Glass tiles are often used as accents due to their stunning visual appeal and reflectivity.
Size and scale: The size of your tiles can dramatically influence the overall look of a space. Large tiles can make a room feel more spacious and are less grout-intensive, which means fewer lines interrupting the visual flow. Smaller tiles, including mosaics, can add intricate details and are perfect for areas requiring more grip, such as shower floors or backsplashes.
Don’t forget about color and pattern. Light-colored tiles can make smaller spaces appear larger and more open, while darker tiles can add warmth and intimacy. Patterns and textures also play a crucial role; subway tiles offer a timeless, classic look, while geometric patterns can make a bold style statement.
Ultimately, balancing beauty with functionality ensures that your tile choice not only enhances the room’s aesthetics but also meets its practical demands. Take your time to explore different options and consider sample swatches to see how they complement your existing decor.
First, make sure to choose the right type of grout for your tiles. There are sanded and unsanded grouts, each suited for different types of joints and tiles. For wider joints, sanded grout is recommended, while unsanded grout suits narrower joints and delicate tiles like glass or polished stone. Always follow the manufacturer’s instructions on mixing and setting times.
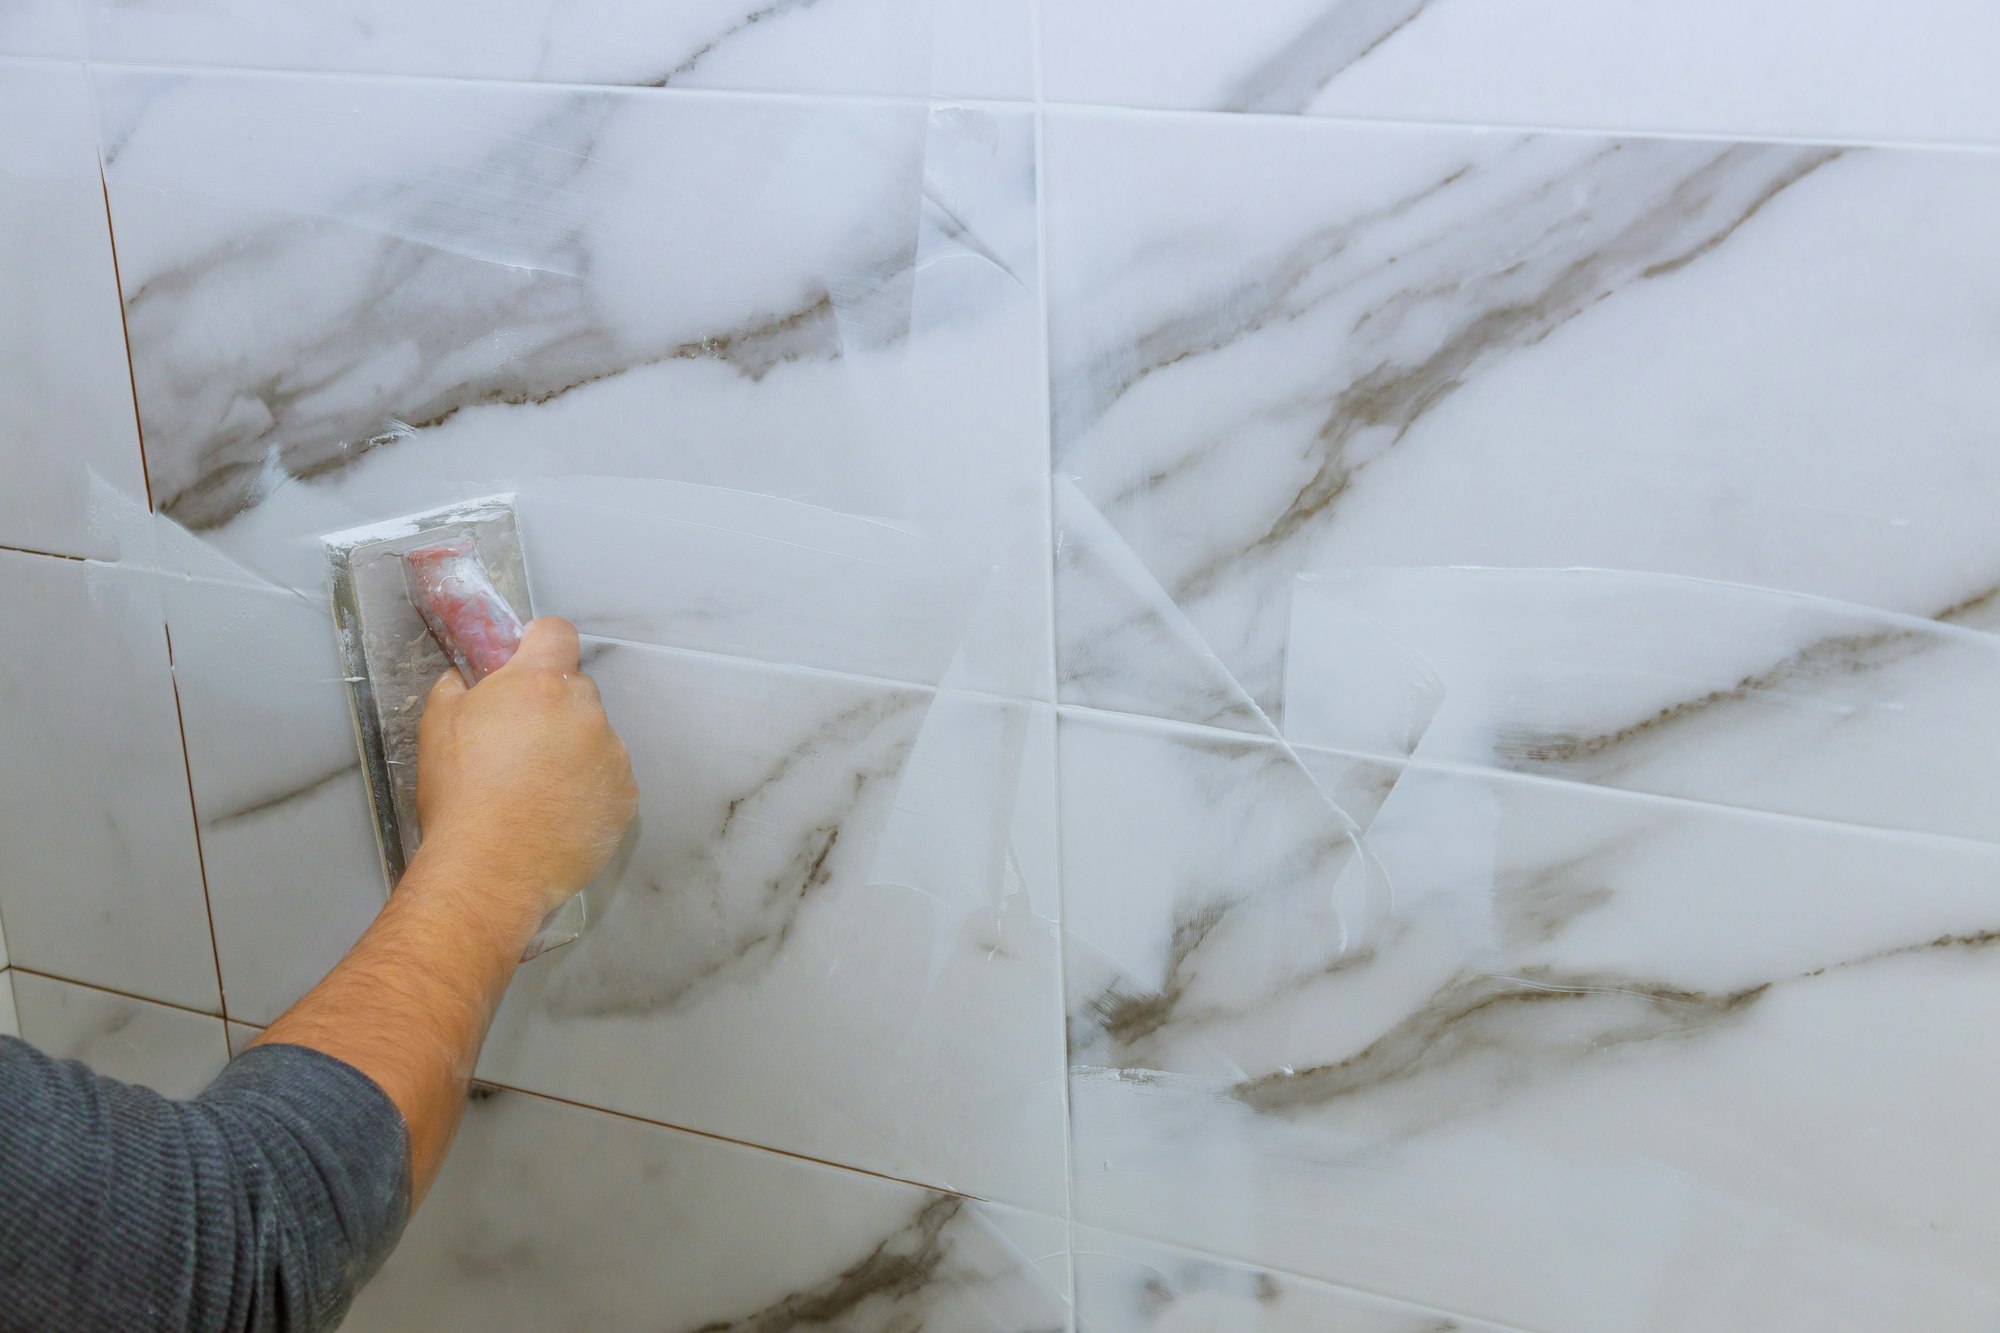
Before you begin applying grout, ensure your tiles are completely dry and free of any adhesive residue. This step is crucial to prevent any potential bonding issues. Use a grout float at a 45-degree angle to spread the grout across the tiles, filling the joints completely. Work in small sections to ensure the grout doesn’t dry too quickly.
Once you’ve filled the joints, take a damp sponge and wipe off the excess grout from the surface of the tiles. Remember to rinse the sponge frequently to avoid spreading grout residue. This process might need repeating several times to achieve a clean finish. Allow the grout to dry according to the manufacturer’s instructions before doing a final wipe with a clean cloth to remove any haze.
Sealing your grout is the finishing touch to maintain its appearance and prevent stains. Apply a high-quality sealer once the grout is fully dry, usually 48 to 72 hours after grouting. Follow the sealer’s instructions for the best results, and reapply as recommended to keep your tile installation looking flawless for years to come.
While tile installation can seem straightforward, there are several common missteps that can lead to a less-than-perfect finish. Avoiding these pitfalls will help you achieve professional-level results.
Poor Surface Preparation: A smooth, clean surface is crucial. Skipping this step can result in uneven tiles and poor adhesion. Always ensure your surface is dry, free of debris, and properly primed.
Incorrect Tile Cuts: Precise measuring and cutting are essential. Misaligned or poorly cut tiles can throw off the entire layout. Invest in a good tile cutter and take your time to measure twice, cut once.
Using the Wrong Adhesive: Different tiles require different adhesives. Using the wrong kind can lead to tiles not sticking properly. Always check the manufacturer’s recommendations for the best results.
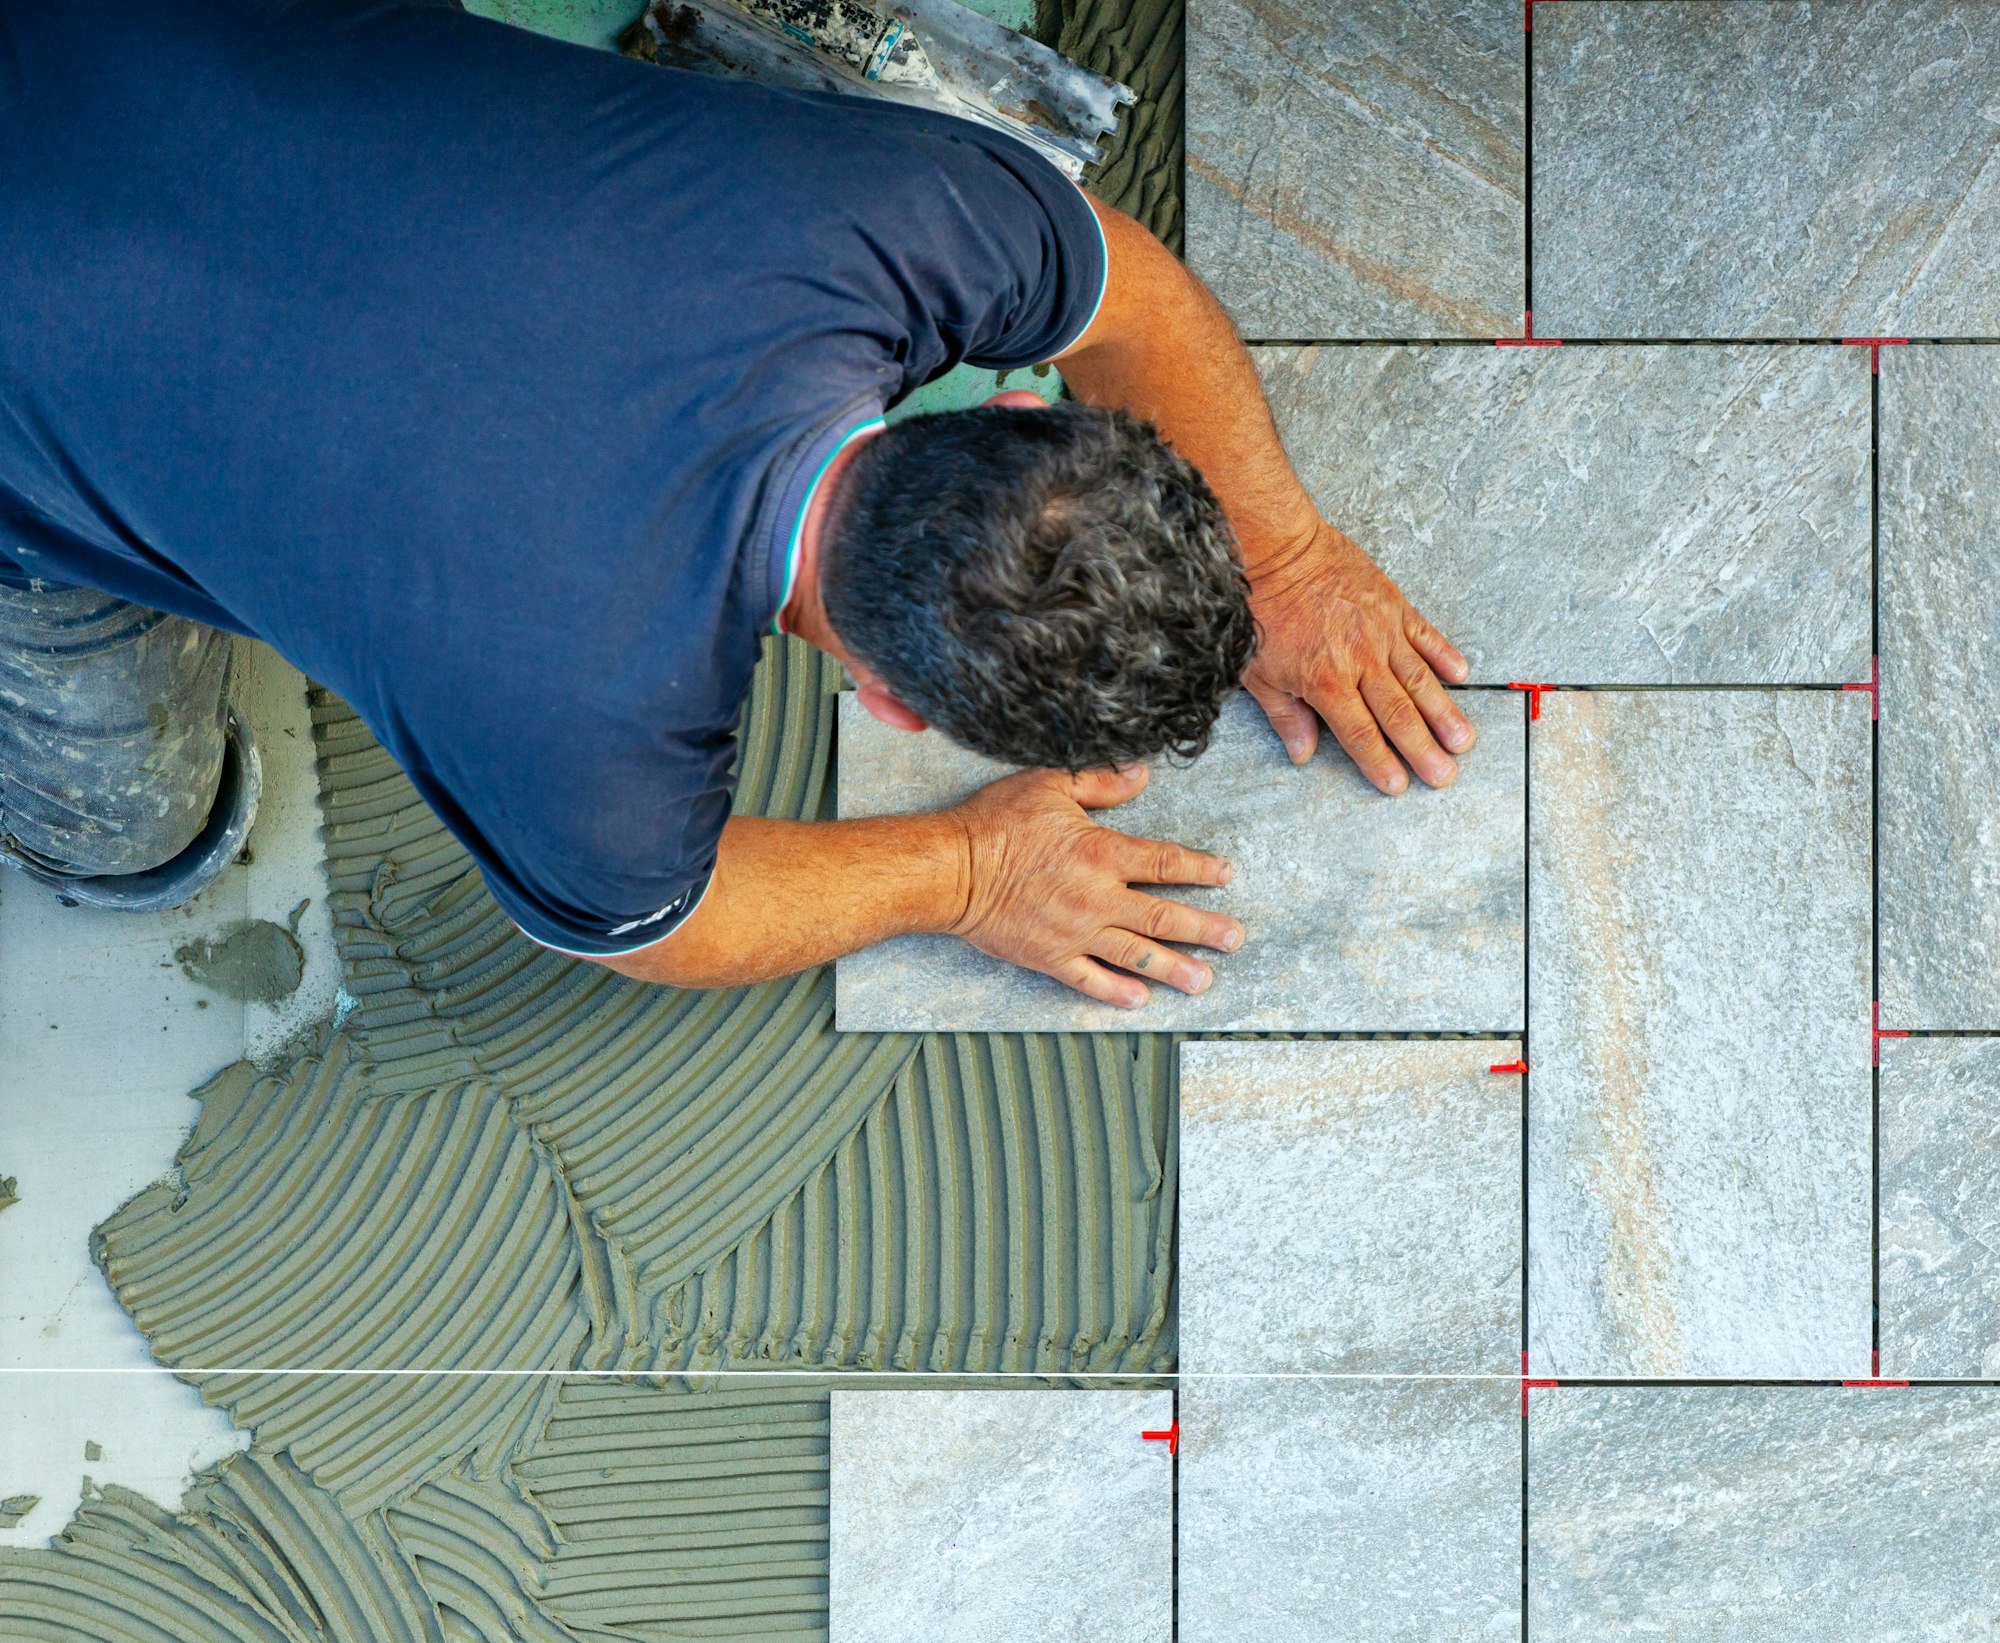
Skipping the Layout Plan: Planning your tile layout before you start gluing everything down may seem tedious, but it saves time and frustration in the long run. Use chalk lines or tile spacers to ensure everything is aligned.
Rushing Grout Application: Applying grout too quickly can result in uneven joints and unsightly finish. Allow the adhesive to fully set before you start grouting, and apply it evenly for the best results.
By steering clear of these common mistakes, you’ll be well on your way to creating a stunning tile installation that looks flawless. Remember, patience and precision are your best friends in this process.
Once your tiles are impeccably installed, you’ll want to keep them looking brand new for years to come. Regular care and maintenance are essential.
By following these maintenance tips, you can ensure that your tile installation remains as stunning as the day it was finished. Remember, a little care goes a long way in preserving the beauty and longevity of your tiles.
Embarking on a tile installation project can be both exciting and daunting. Whether you choose to tackle it yourself or hire professionals depends on a few critical factors.
Ready to turn your tile installation dreams into reality? Whether you’re a DIY enthusiast or prefer to leave it to the professionals, we’re here to help. Contact us today to discuss your project and get expert advice tailored to your needs. Let’s make sure your tile installation is as flawless as you’ve imagined! Reach out now and take the first step towards transforming your space.
The duration of tile installation can vary depending on the size of the area and the complexity of the project. Generally, a small room can be completed in a day or two, while larger or more intricate spaces may take up to a week.
Yes, you can install tiles over existing flooring, but it requires proper preparation. The existing surface must be clean, dry, and stable. It’s often recommended to seek advice from a professional to ensure the best results.
For high-moisture areas such as bathrooms and kitchens, ceramic and porcelain tiles are excellent choices. They are water-resistant and durable, making them ideal for these environments.
Regular sweeping and mopping with a mild detergent are generally sufficient for maintaining tile floors. Avoid harsh chemicals, as they can damage the grout. For deeper cleaning, specific tile cleaners are available to help keep your tiles looking new.
While DIY tile installation is possible, it requires careful planning and precision. Beginners can attempt smaller, less complex projects, but larger or more intricate installations might benefit from professional expertise to ensure a flawless finish.
Tile installation may seem daunting, but armed with the right tips and strategies, you can achieve a stunning, professional-looking finish. From preparing your surface to carefully choosing the best tiles, each step plays a crucial role in the final outcome.
Remember, attention to detail with grouting and maintaining your tiles will ensure that your efforts stand the test of time. Whether you decide to take on this project yourself or hire a professional, understanding these key elements will pave the way to a successful tile installation.
Ready to transform your space with a stunning tile installation? Get started today and bring your vision to life! If you have any questions or need further guidance, don’t hesitate to reach out.
