Ah, the allure of gleaming new tiles – they hold the promise of transforming any space, be it a cozy kitchen or a luxurious bathroom. However, the journey from tile inspiration to execution can be fraught with missteps.
Proper tile installation is an art in itself, and avoiding common pitfalls can mean the difference between a professional finish and a costly redo.
Whether you’re a DIY enthusiast or hiring a professional, understanding these traps can save you time, money, and a good deal of frustration. Let’s dive into how you can ensure your tiles not only look beautiful but stand the test of time!
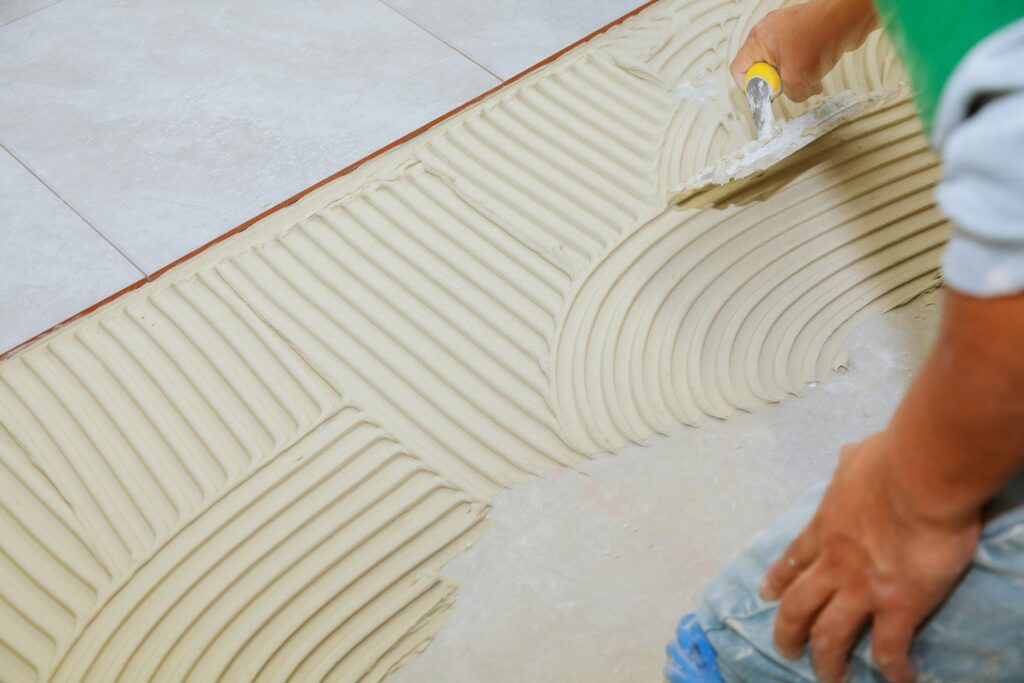
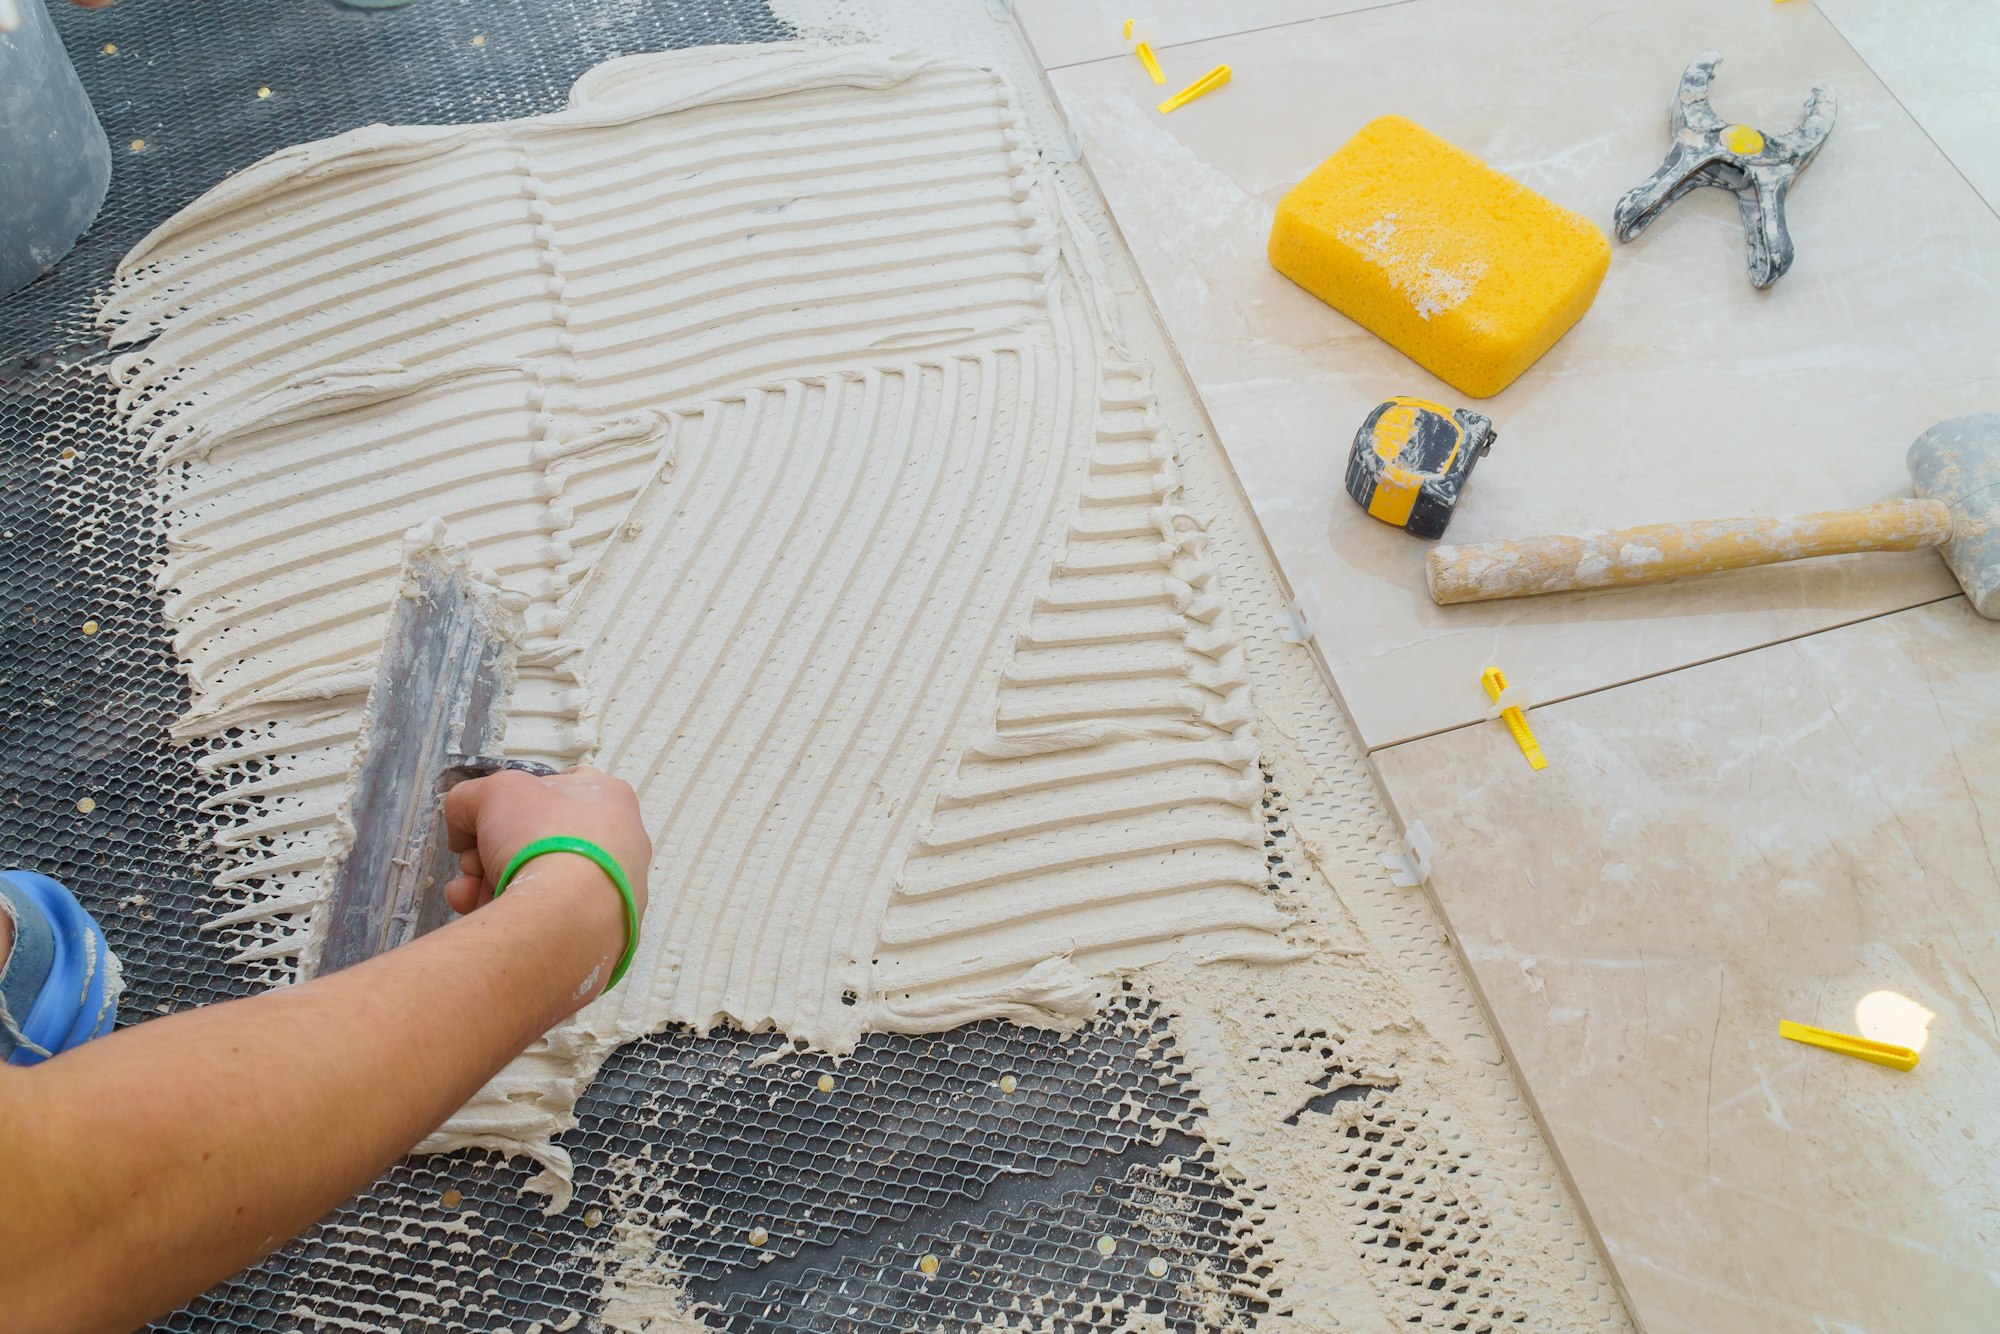
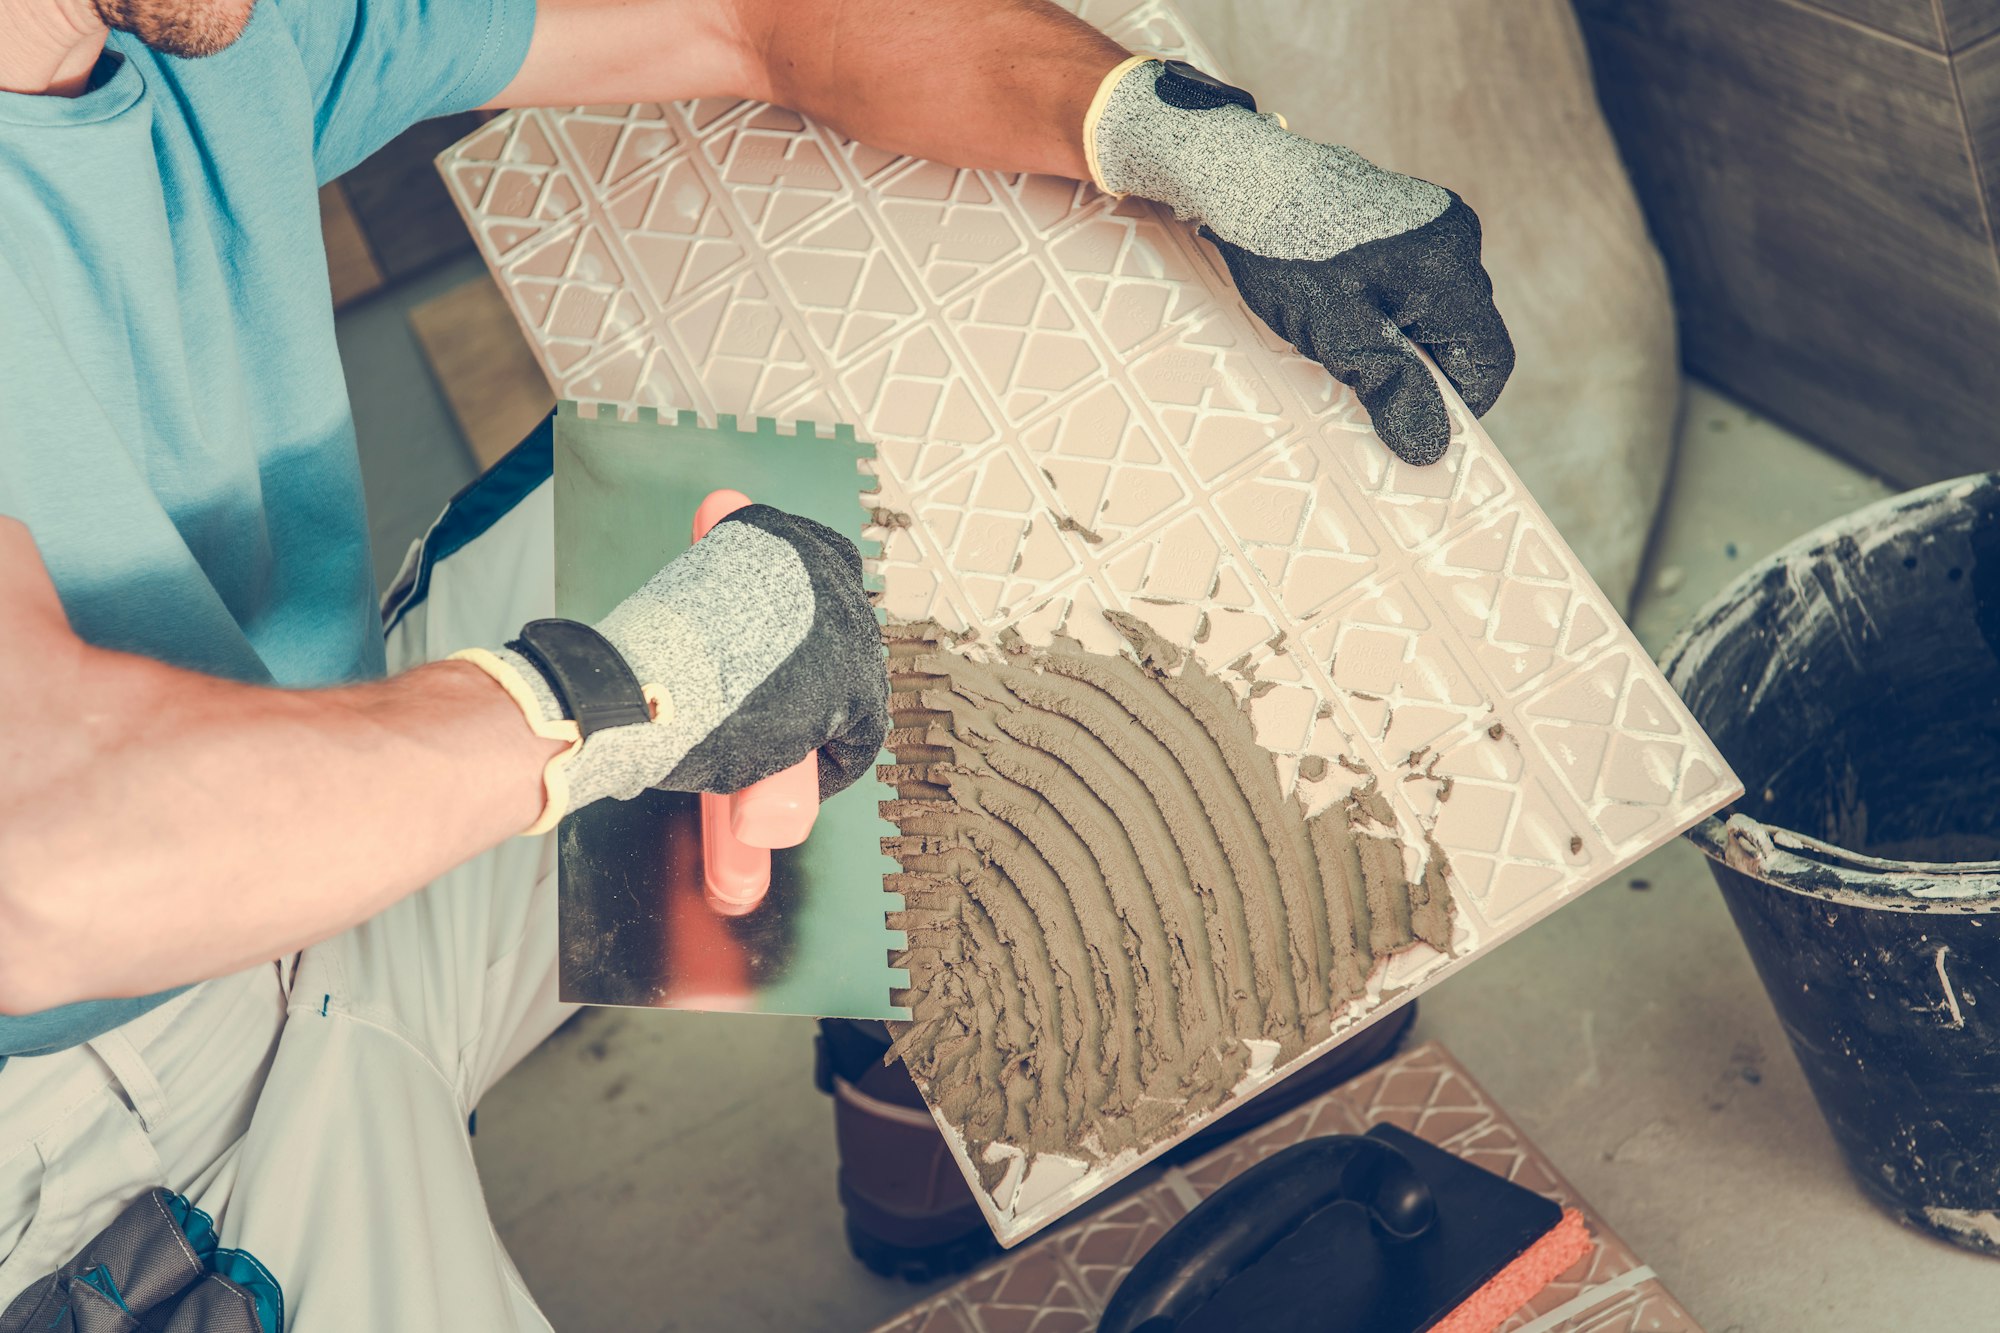
One of the foundational steps in successful tile installation is selecting the right adhesive. Not all tiles or surfaces will interact seamlessly with just any adhesive. Choosing the correct adhesive supports the weight, absorption rate, and material of your tile—ensuring longevity and performance.
First, consider the environment. Is it a moist bathroom or a heat-exposed kitchen? Waterproof or heat-resistant adhesives are crucial in such conditions. Flexible adhesives, particularly for exterior tiles or floors subject to movement, help prevent future issues like cracking.
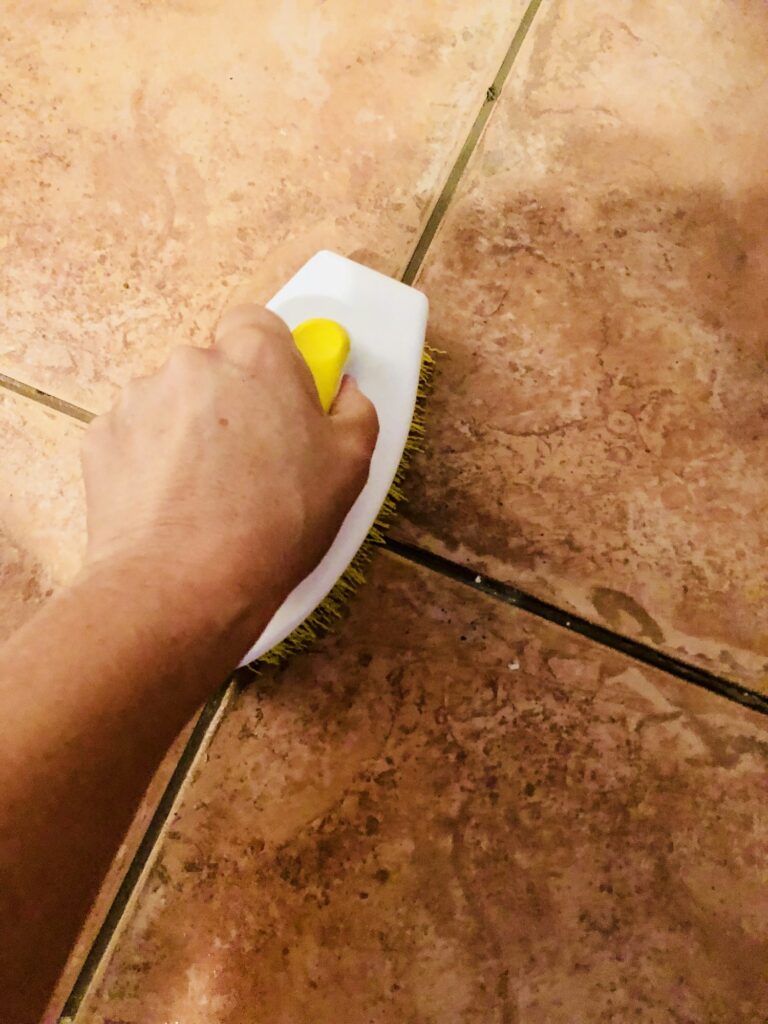
Grout may seem like a finishing touch, but it plays a crucial role in both the aesthetic and function of your tile project. Here’s how to avoid common grouting mistakes:
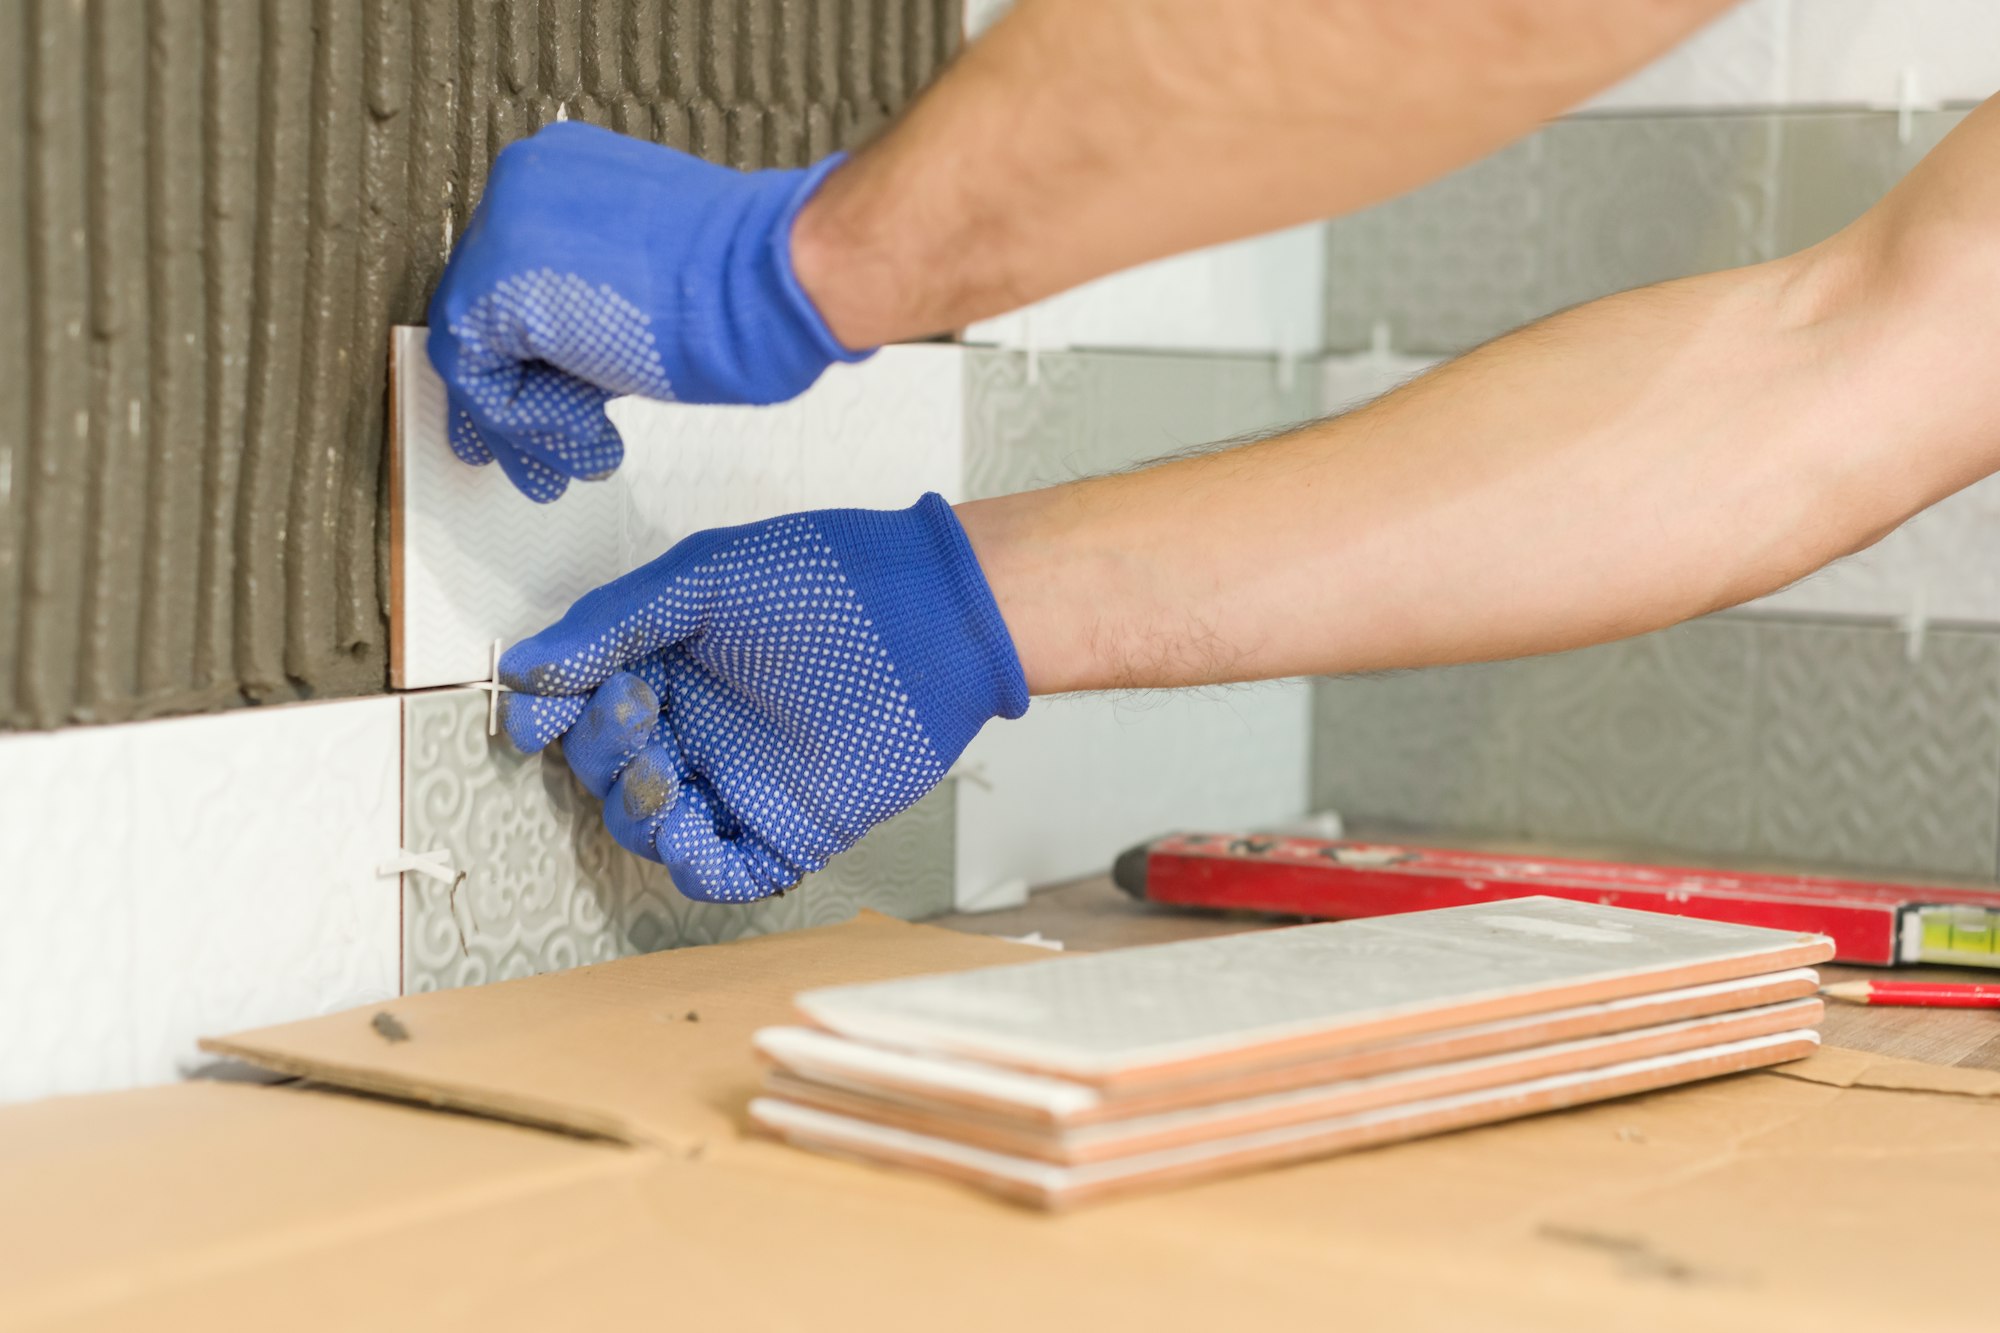
Ensuring perfect tile alignment is critical for a professional finish. Start with a dry fit to see how the tiles will fit into your space. This allows you to make adjustments before committing to adhesive.
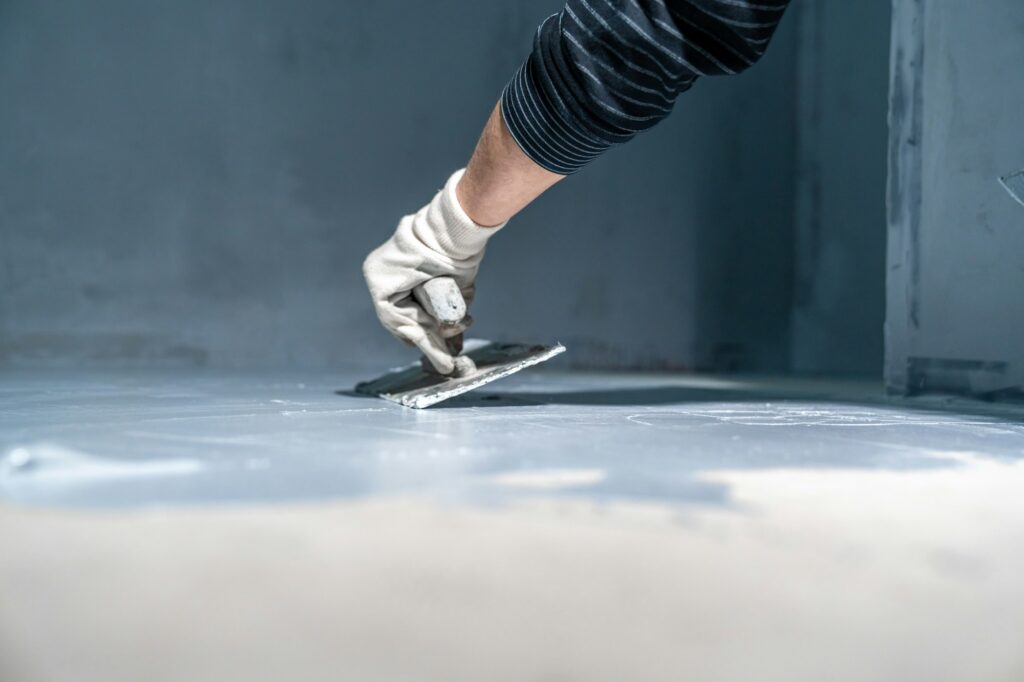
Skipping waterproofing can lead to leaks, mold, and expensive repairs. Waterproofing is essential in areas like bathrooms and kitchens, where moisture is prevalent.
Use a waterproof backer board to create a barrier that prevents water from damaging the tile substrate. Additionally, ensure proper drainage and slope design to avoid pooling in unwanted areas.
Sealant may seem like a finishing touch, but it’s crucial for protecting your tiles from moisture and stains. A misstep in applying or choosing the right sealant can lead to lasting damage.
| One common error involves neglecting the curing time of the grout before sealing. It’s tempting to speed up the process, yet sealing too soon can trap moisture, leading to discoloration or mold growth. Tip: Always check the manufacturer’s recommendations for the curing time of your particular grout, and be patient. Typically, waiting at least 48-72 hours is advisable. |
| Another frequent mistake is using the wrong type of sealant for your specific tiles and grout. Not all sealants are created equal. Some are designed for natural stone, while others may work better with ceramic or porcelain. Using the incorrect product can diminish the effectiveness of the seal, potentially compromising the integrity and appearance of your tiles. Tip: Consult with a specialist or do thorough research to ensure you’re choosing the appropriate sealant for your project. |
| Lastly, inconsistent application of sealant can lead to patchy and uneven protection. Ensure that the whole surface is covered uniformly, using tools like a sponge or applicator pad to spread the sealant evenly. A diluted or uneven layer won’t offer the same level of safeguarding against stains and damage. Tip: Work in small sections and take your time, ensuring each tile is perfectly placed before moving on to the next. Rushing can lead to misalignment, which can be difficult to correct after the adhesive has set. |
Prioritize Precision: Use the right tools such as a straightedge to maintain clean lines and consistent spacing. Investing in quality tools can make a critical difference in your outcome. Additionally, always double-check your measurements before making any cuts to prevent unnecessary waste.
Remember: It’s better to remove, adjust, and re-place a tile than to hope the error won’t be noticeable later. Patience during this stage can save significant time and frustration in the long run.
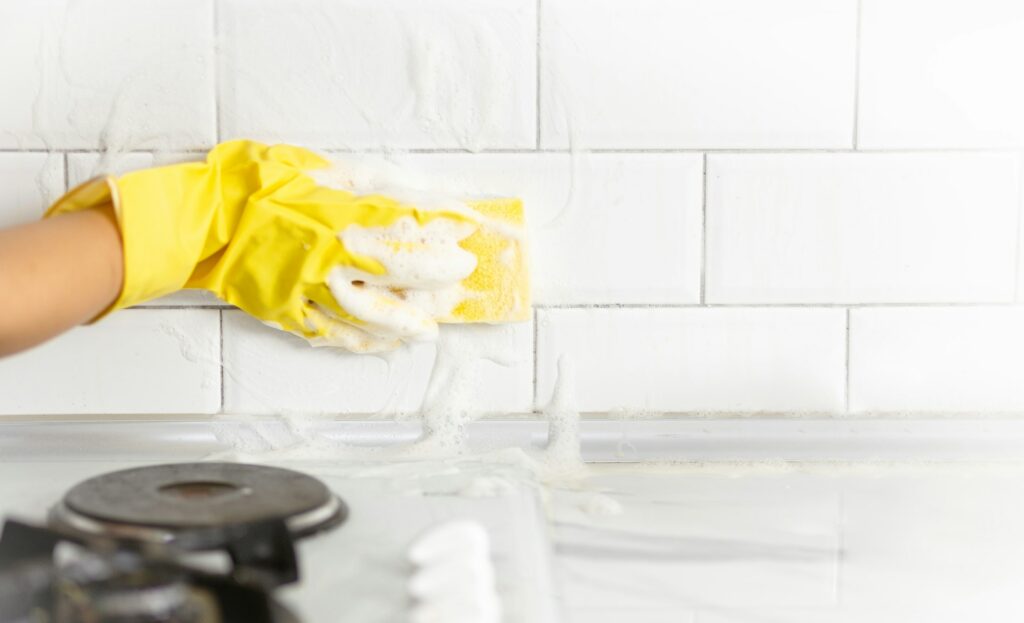
To keep your tiles looking new, avoid harsh chemicals that can dull their shine. Instead, use a gentle tile cleaner. For grout lines, a homemade solution of baking soda and water applied with a soft brush can help keep them fresh.
Regular maintenance, like reapplying sealant every 1-2 years, helps extend the life of your tiles and prevents water damage.
Choosing the right adhesive depends on the type of tile, the surface you’ll be working on, and the conditions of the space. Make sure to follow the manufacturer’s recommendations for the best results.
Proper grout application is crucial to prevent leaks and ensure a strong hold. Incorrect grouting can lead to unsightly gaps, stains, and even structural issues.
To prevent uneven tile layout, use spacers and consistently check alignment with a level. Plan your layout before starting to ensure a seamless final result.
Waterproofing is essential in areas exposed to moisture, like bathrooms and kitchens, to prevent damage and extend the lifespan of your tile installation.
Sealant should typically be applied every 1-2 years, depending on usage and exposure to moisture, to keep tiles protected and looking new.
With the right preparation and attention to detail, your tile installation can be both stunning and long-lasting. From choosing the right adhesive to ensuring proper waterproofing and sealing, each step is crucial to a successful project. Remember, tile installation is an investment—taking the time to do it right will save you from costly repairs down the line.

Ready to start your tiling journey? Let DC Tile and Stone help you every step of the way! Whether you need high-quality materials or expert advice, we’re here to assist. Contact us today to schedule a consultation or visit our showroom to explore our range of stunning tile options.
