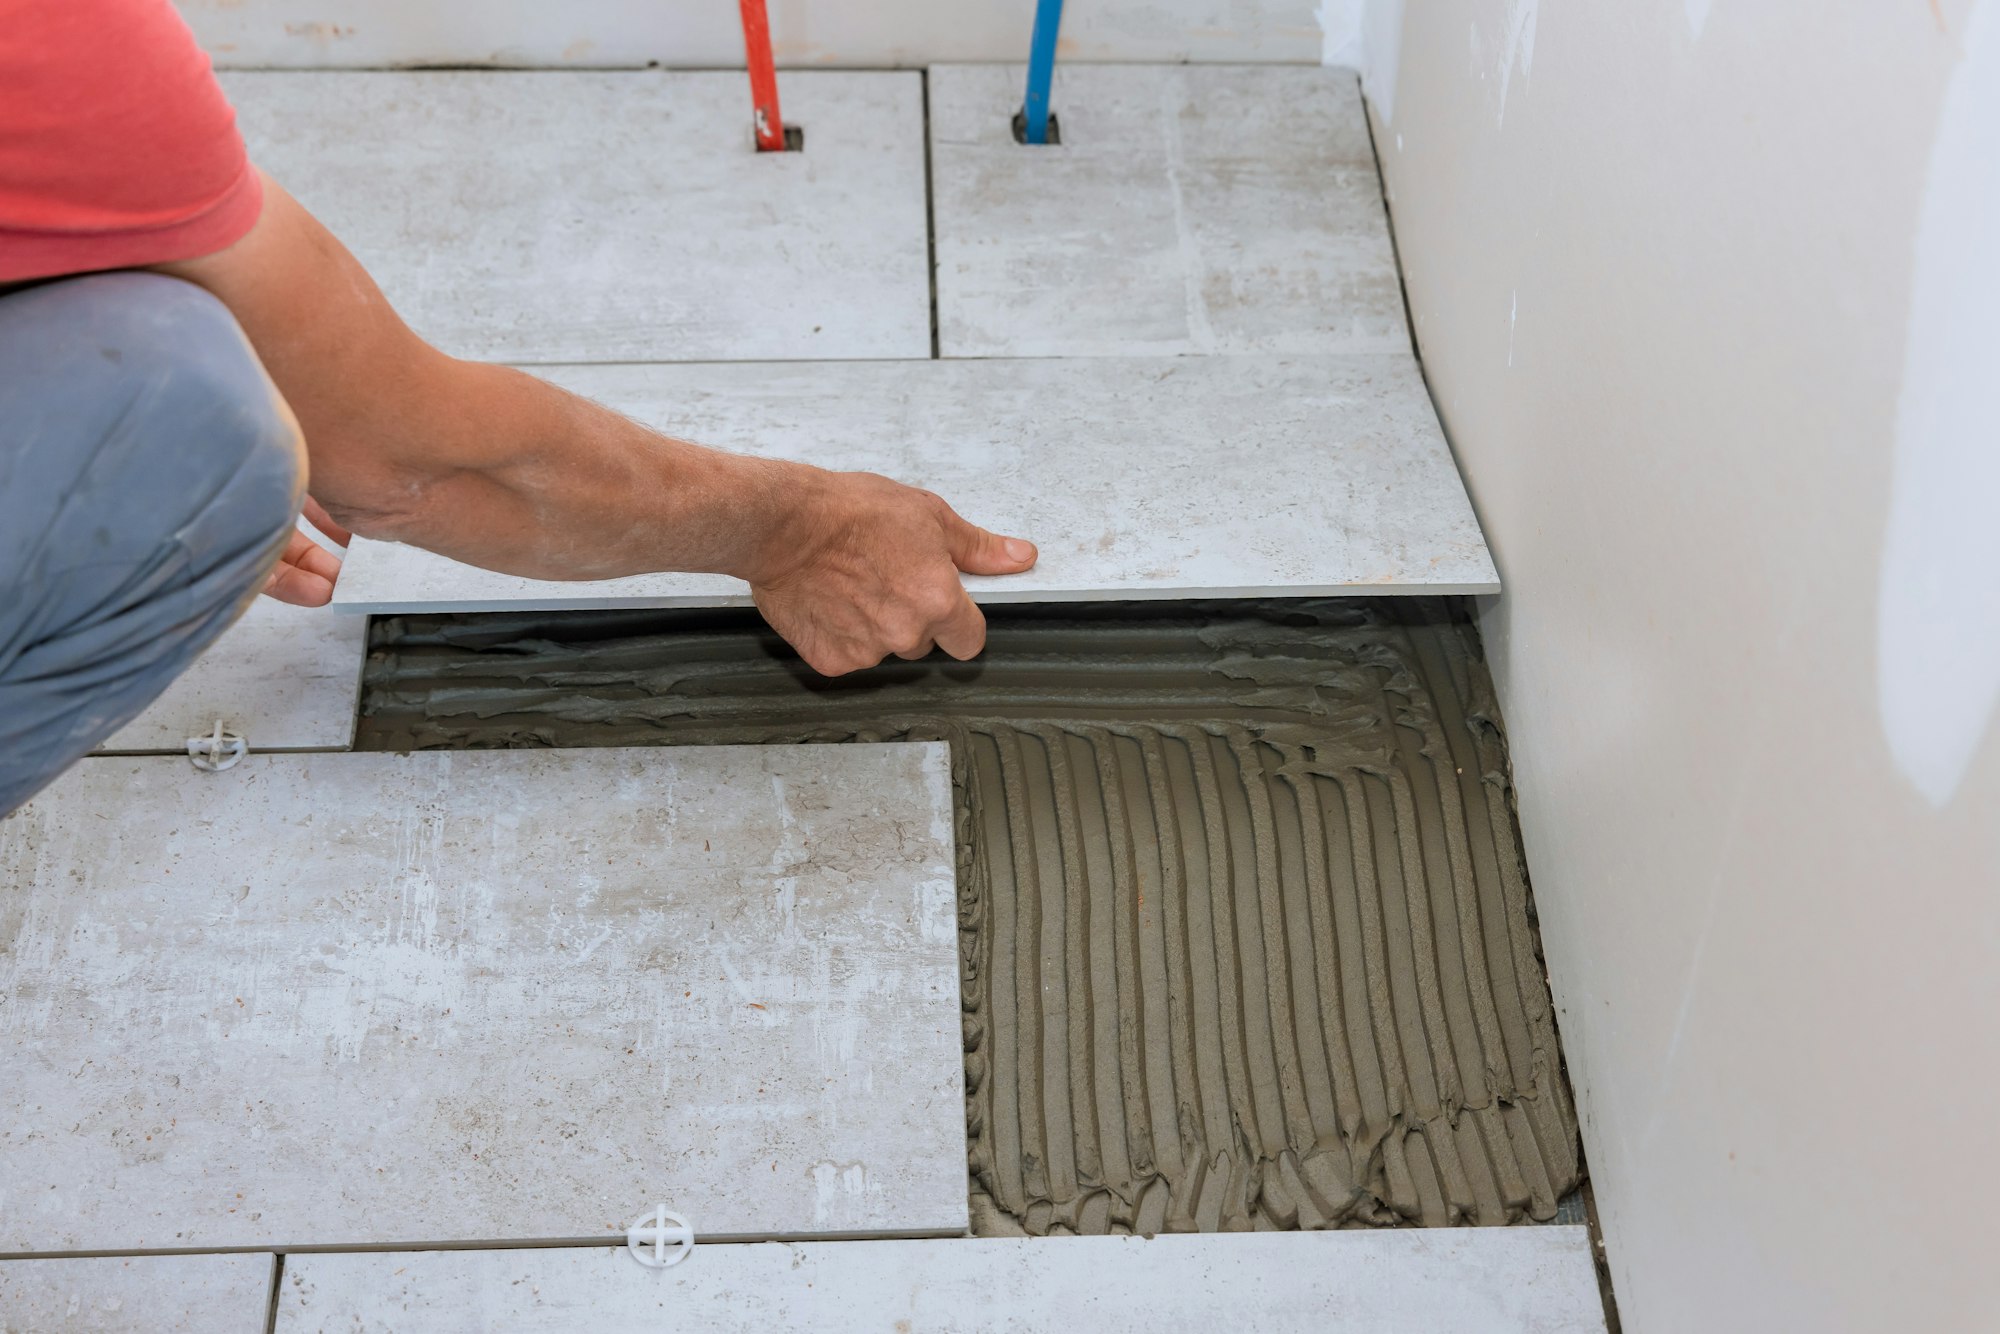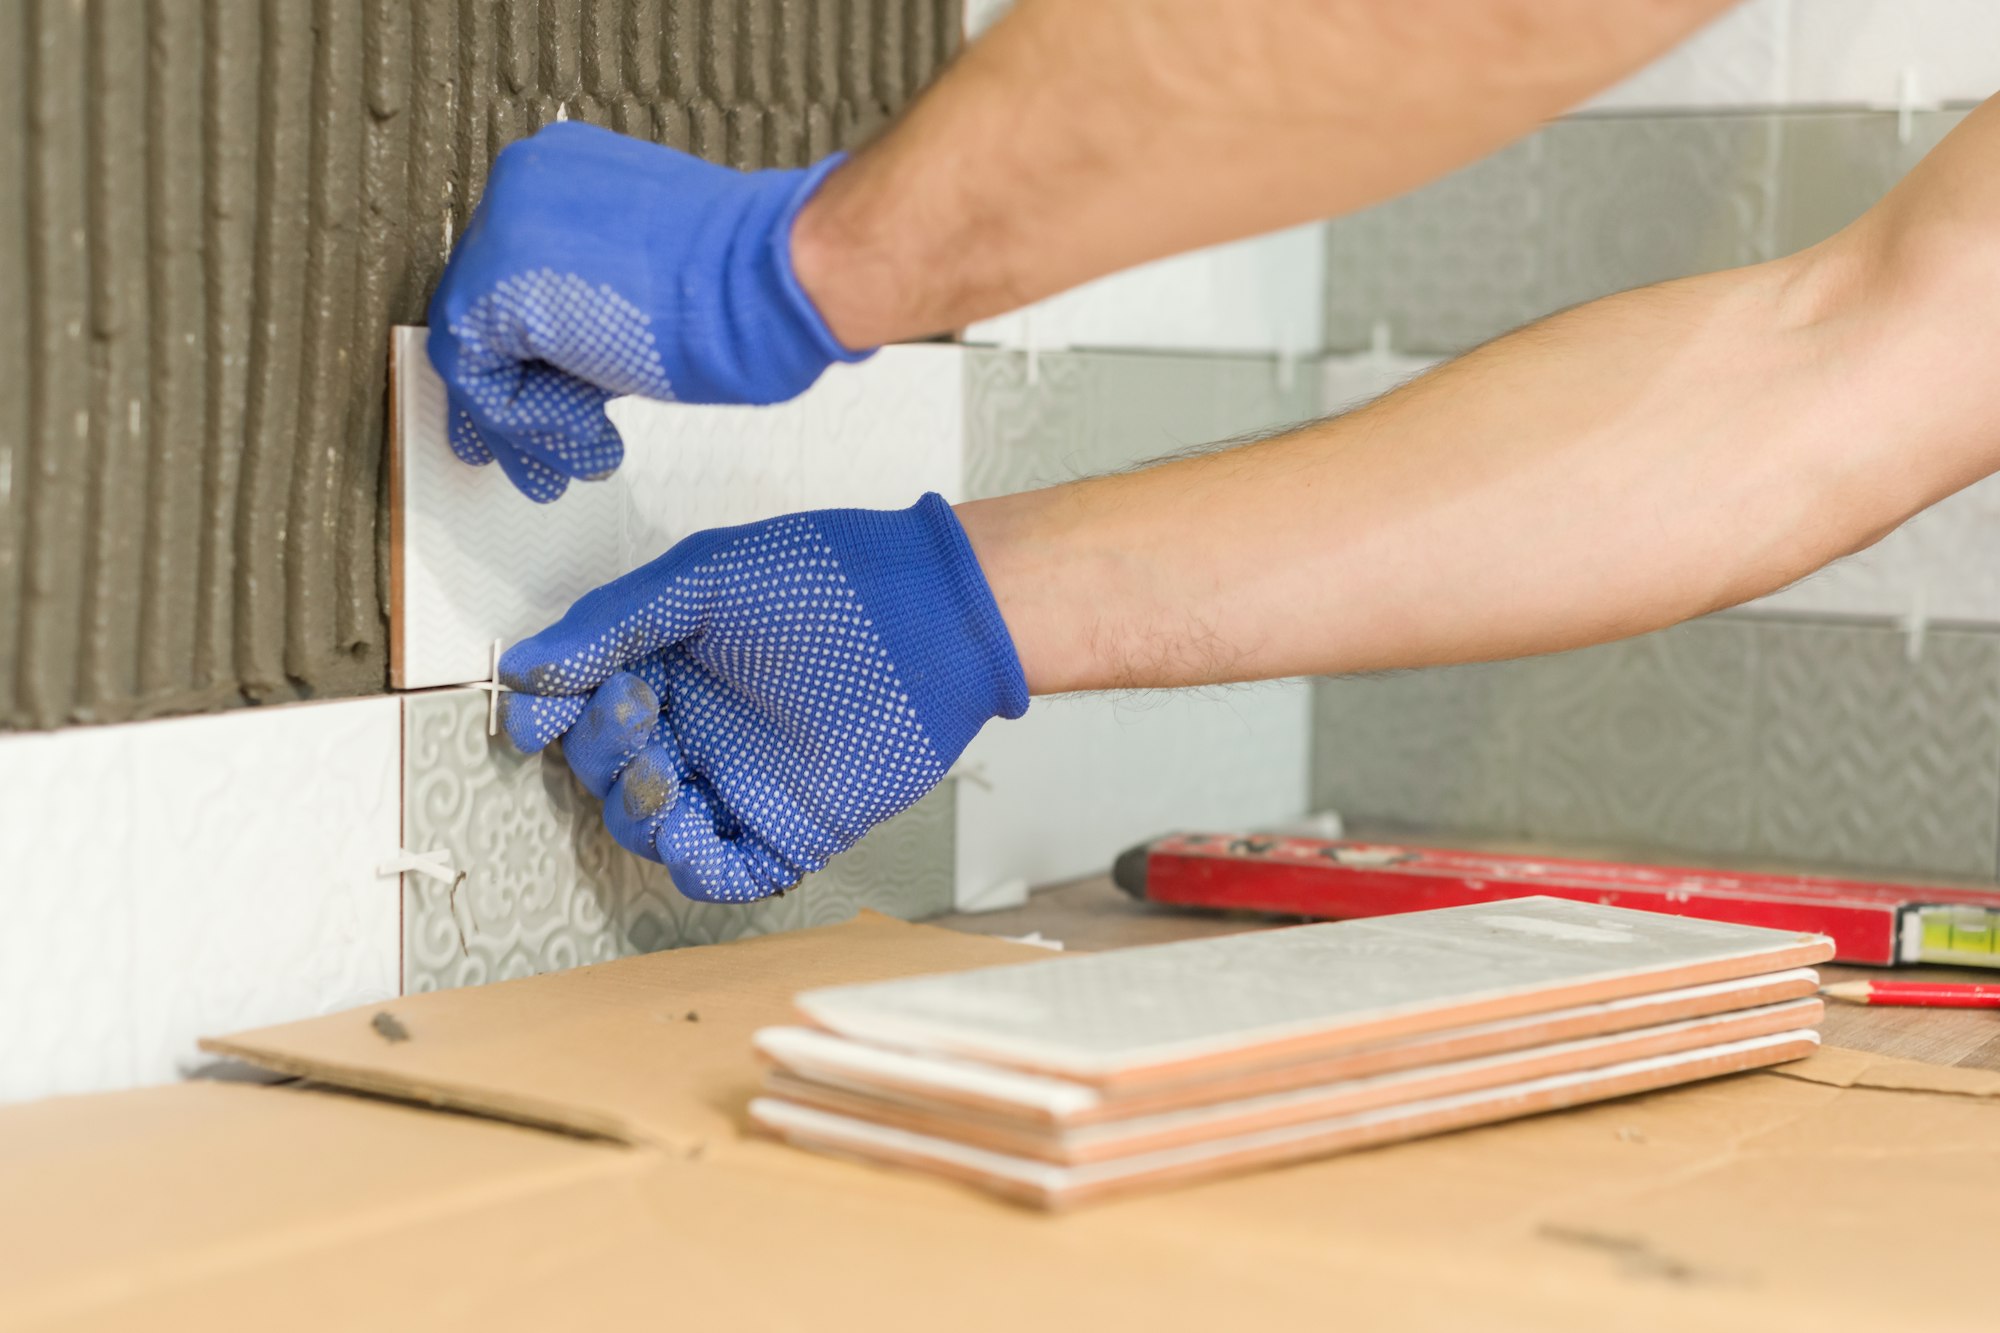
Transforming your space with ceramic tiles can be both fulfilling and challenging. Whether you’re taking on a DIY project or refining your tiling skills, the right tools, techniques, and guidance can turn your space into a true masterpiece. Here’s everything you need to know to get started and achieve professional results.
Selecting the right ceramic tiles isn’t just about aesthetics; it’s also about durability and functionality. For a sleek, modern look, consider large format tiles that reduce grout lines and make smaller spaces feel larger. For a more rustic appeal, look into options like textured or stone-look ceramic tiles that add depth and character.

For inspiration on which styles might work best in your home, check out this article on trendy ceramic tile patterns and colors. It’s essential to balance design with durability to ensure your project withstands the test of time.
A smooth, clean surface is the foundation for a successful tile installation. Before starting, check that your subfloor or wall is solid and stable, as movement can lead to cracks. Clean the area thoroughly, removing all dust, debris, or adhesive residues to ensure proper tile adhesion.
If your surface is uneven, use a self-leveling compound to smooth it out. In moisture-prone areas like kitchens or bathrooms, adding a waterproof barrier such as a liquid membrane or waterproof backer board can prevent future water damage, enhancing the lifespan of your tiles.
Your tile layout can make or break the final look. Start by measuring the area carefully and doing a dry fit, which means laying out your tiles without adhesive. This step allows you to visualize the design and make any necessary adjustments before you commit. You can create symmetrical patterns by aligning tiles along the room’s centerlines, which also helps reduce the number of tile cuts needed.
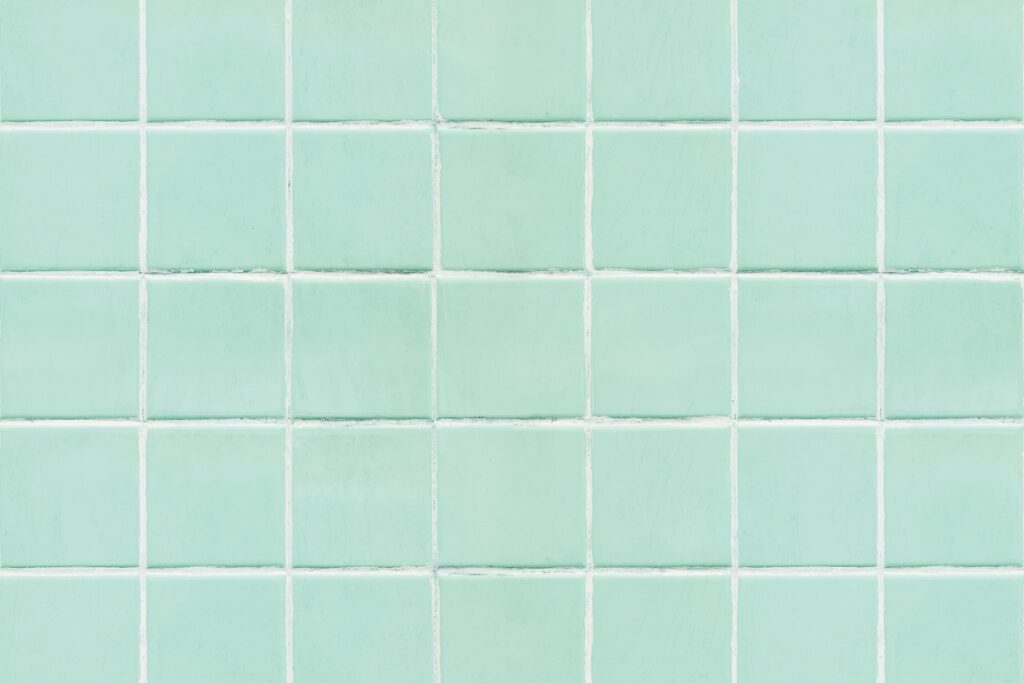
For a touch of elegance, consider layouts like the herringbone or chevron patterns; these can add a sense of movement to the room and make it visually dynamic. For more layout ideas, explore these creative tile layout suggestions that may align with your style goals.
After laying the tiles, grouting is essential for a polished look. Choose a grout color that complements your tile choice, as grout can either blend in subtly or create a bold contrast for a more striking look.

To apply grout correctly, use a grout float at a 45-degree angle, pressing firmly into the joints to fill all gaps. Be sure to wipe away excess grout with a damp sponge to avoid haze on the tiles, which can dull their shine. Once dry, applying a sealer to the grout helps protect it from stains and moisture, which is especially useful in kitchens and bathrooms.
Ceramic tile installation may seem straightforward, but some common mistakes can lead to costly problems. Here’s how to avoid them:
Yes, you can lay new ceramic tiles over existing ones if the base layer is in good condition. Ensure the original tiles are stable, and the surface is clean and free from debris for optimal adhesion.
The basic tools include a tile cutter, notched trowel, tile spacers, level, rubber mallet, sponge, and a grout float. Additional tools like a laser level or wet saw can enhance precision, especially for larger projects.
The time required varies based on your experience and the project’s complexity. Generally, small rooms may take a day or two, while larger or intricate jobs can extend up to a week. It’s vital to allow time for adhesives and grout to cure properly.
Ceramic tile projects typically use thin-set mortar for most installations, which provides solid adhesion. Choose the adhesive based on your specific substrate and whether the tiles are installed indoors or outdoors.
To ensure a long-lasting installation, invest time in surface preparation and use high-quality materials. Proper sealing after grouting, particularly in moisture-prone areas, will help protect the tiles and maintain their appearance over time.
With a balanced approach that combines planning, technique, and creativity, ceramic tile installation can be a highly rewarding project. From selecting the right tile to mastering layout and grout techniques, every step is crucial in achieving a beautiful, lasting result.
Ready to transform your space with expert help? At DC Tile and Stone, our experienced team is here to bring your vision to life with precision and quality. Contact us today for a consultation or to learn more about our tile installation services.

