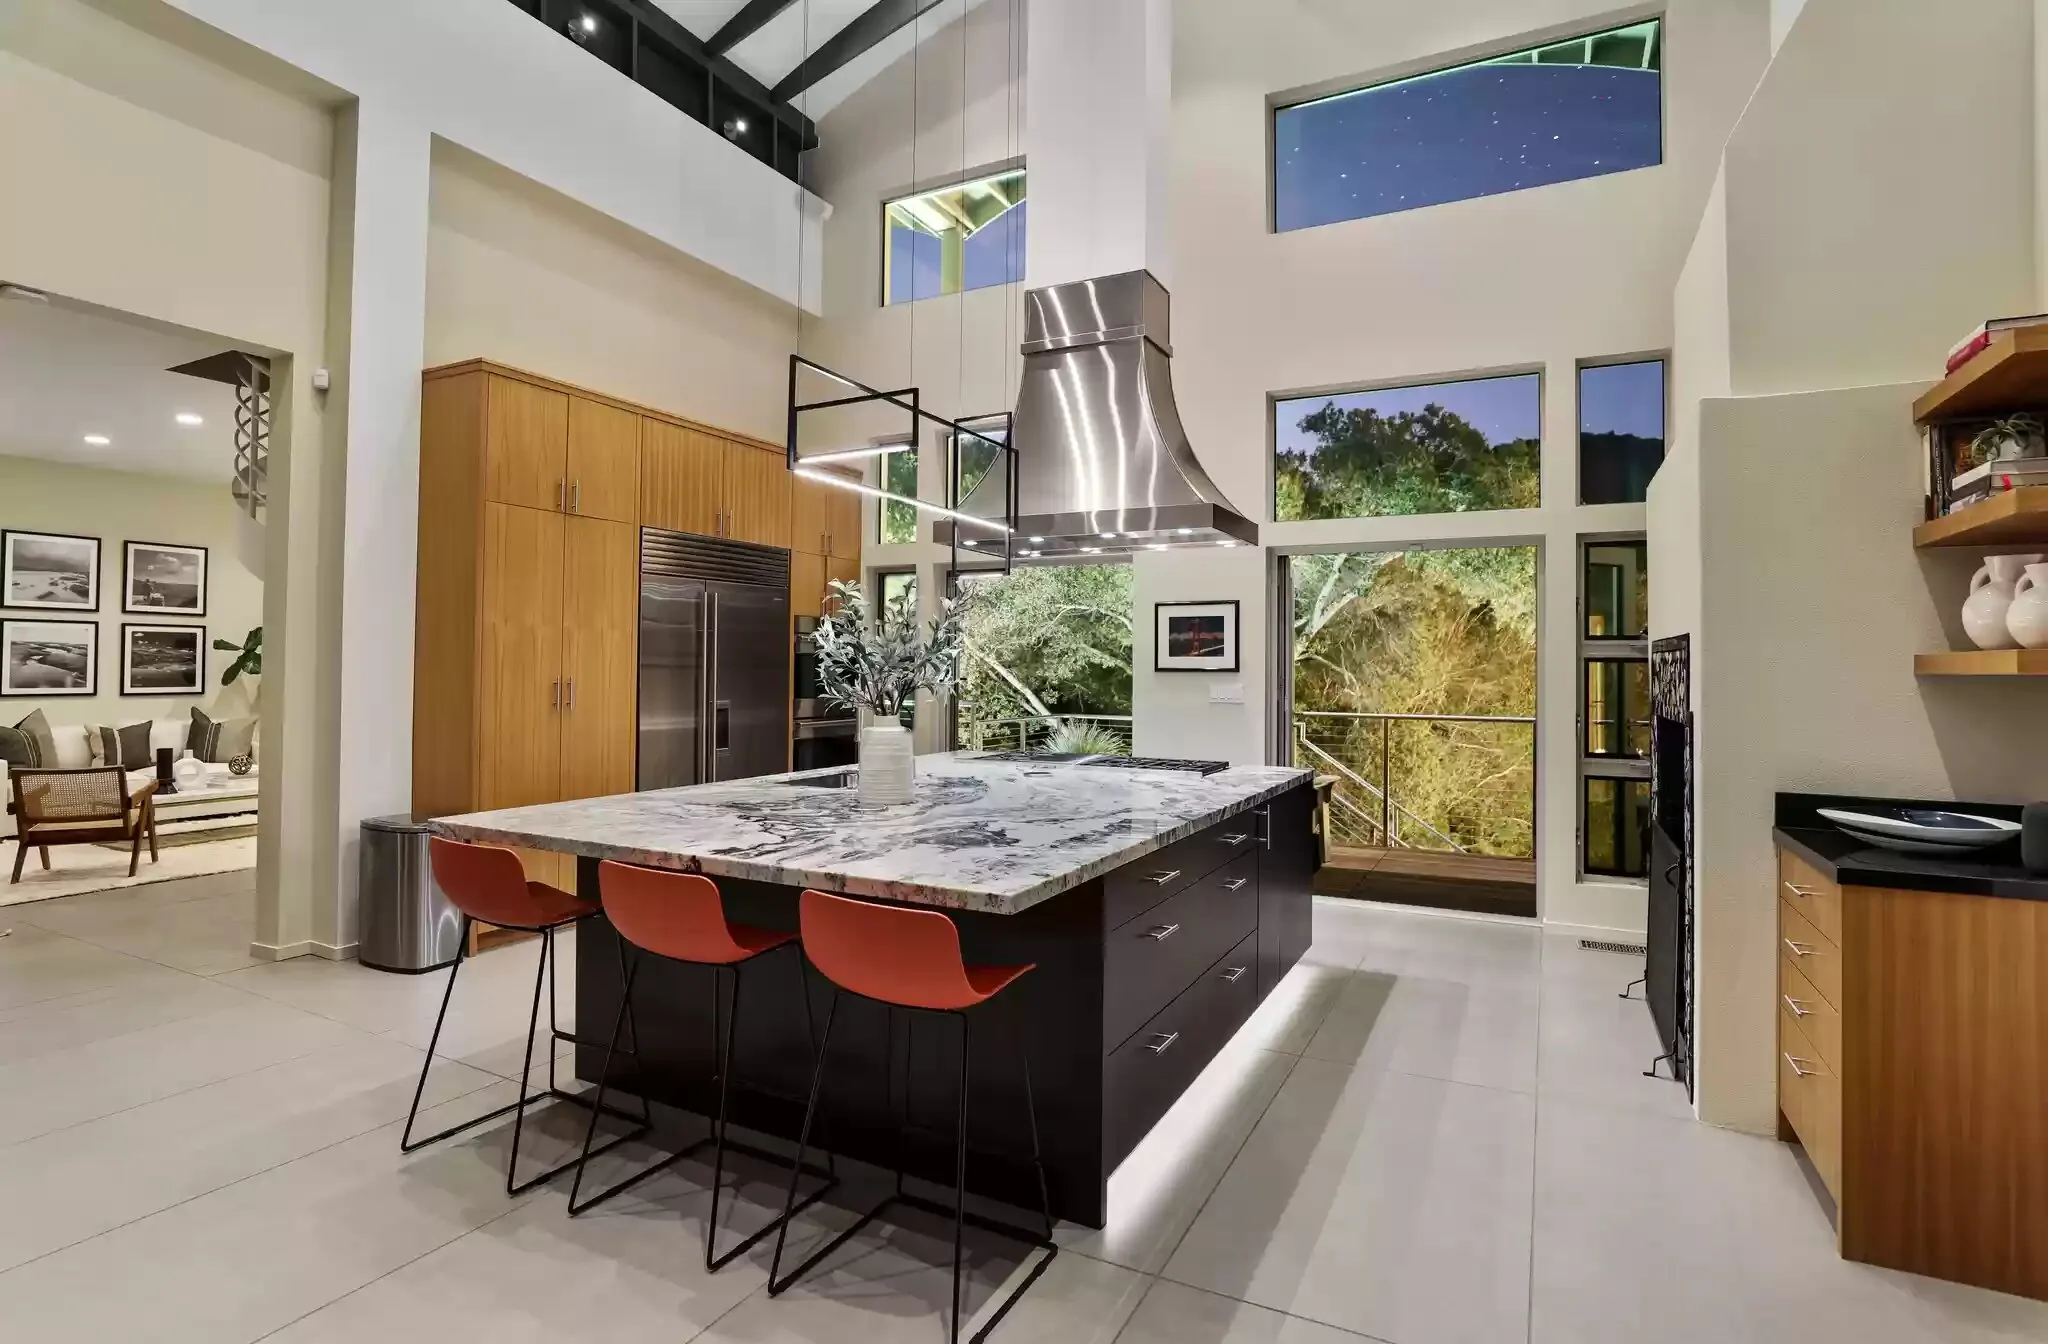
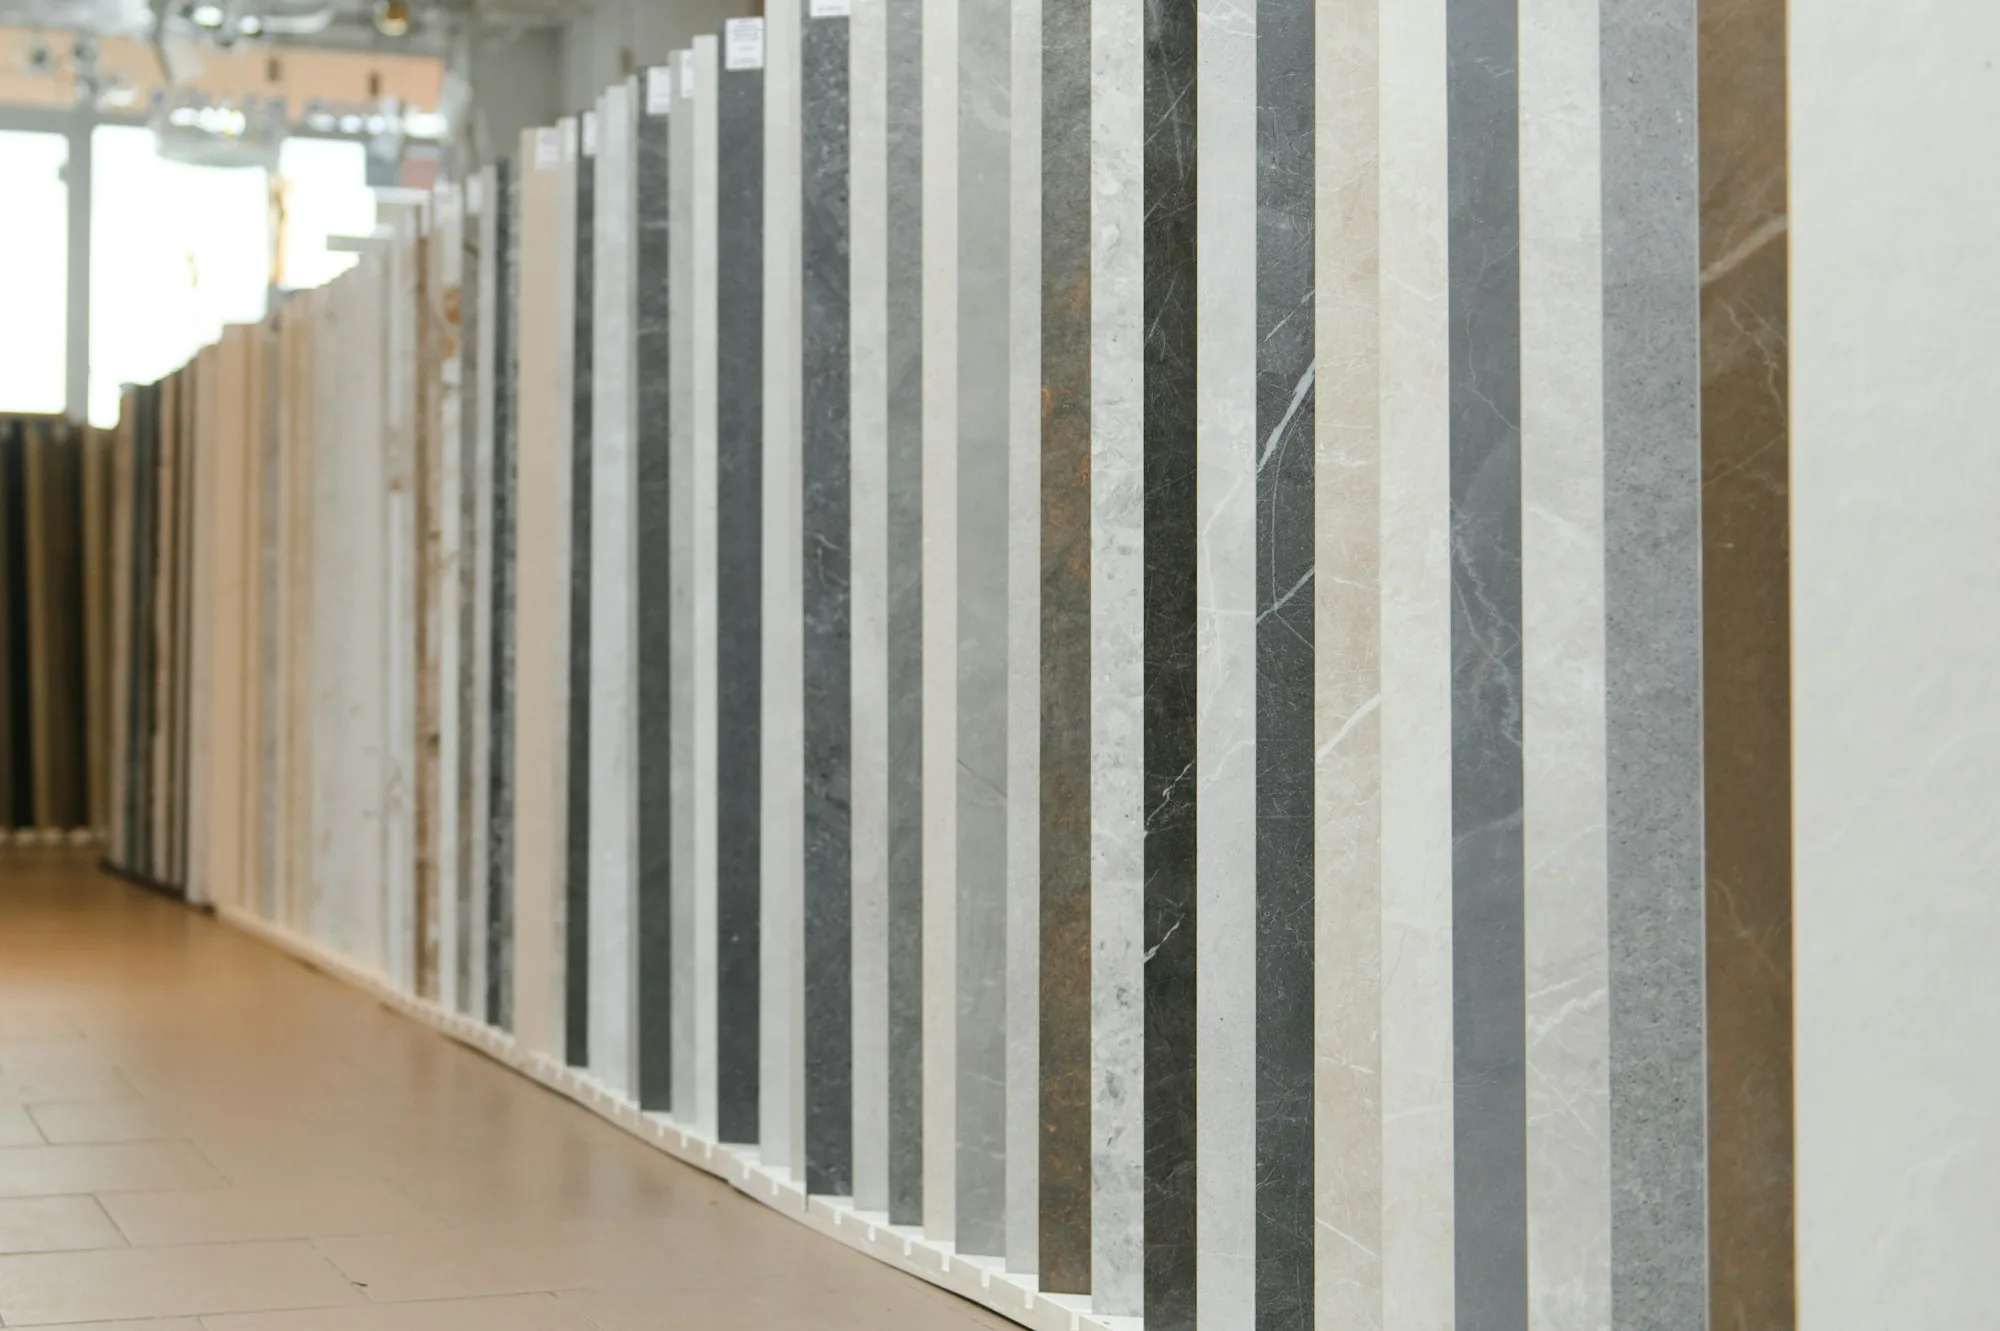
Wall tile makes small alignment decisions visible. A narrow cut beside a cabinet, an unresolved outside corner, or a poorly placed niche can draw attention even when the tile itself is attractive. Planning the wall as a complete composition helps you choose materials and details that the installation team can carry through consistently.
Confirm the wall’s purpose and condition
A kitchen backsplash and a shower wall are different applications. Tell the installer where the tile will go, what is behind the existing finish, and whether fixtures or cabinets are changing. Ask what preparation is required before setting begins. Select the exact tile and installation products for the intended setting rather than assuming that every wall surface is ready to receive them.
Set the layout from the most visible features
Review the field around windows, cabinets, mirrors, controls, and corners. Decide where the pattern should center and where cut pieces will land. Check the top and bottom termination as well as the side edges. A drawing or dry arrangement can reveal awkward cuts before they become part of the finished room.
Decide how exposed edges will finish
Compare the available tile edges and trim with the chosen material. Discuss outside corners, the ends of a backsplash, and returns around a window or niche. Confirm the finish of any visible profile alongside the plumbing hardware. These details should be included in the estimate and approved before installation starts.
Coordinate joints and fixture locations
Ask the installer to select a joint appropriate to the tile and grout, and review how the pattern relates to outlets or shower fittings. Avoid assuming that a very narrow grout line is possible for every tile. Follow the product and assembly requirements for corners and changes in plane. Important junctions should not be resolved by appearance alone.
Complete wet-area decisions before tiling
For a shower, establish the waterproofing plan and the treatment of penetrations, niches, and transitions first. Schluter’s shower assembly overview explains the role of moisture management beyond the visible finish. Confirm how the chosen system is installed and checked, then protect the completed work according to the applicable product instructions.
Plan your next step
A successful wall installation is designed from boundary to boundary. Resolve the substrate, layout, joints, edges, and fixtures together so the finished wall feels intentional and the assembly suits its location.
For help with tile installation or custom stone surfaces, contact DC Tile and Stone to discuss your project.